Materials & Shaders
Why do we need materials in the first place? Well meshes need materials in order to be rendered. To understand what a material is we first need to go over what a shader is. Each material references a shader.
What is a shader?
A shader is code that runs on a GPU. Shaders are used to render the final frame, and will decide the final color of each pixel. In order to do so, shaders use mesh data - i.e. positions, normals, uvs - to render meshes.
Although you can create your own shaders, in most cases, you can use the preconfigured default shaders.
What is a material?
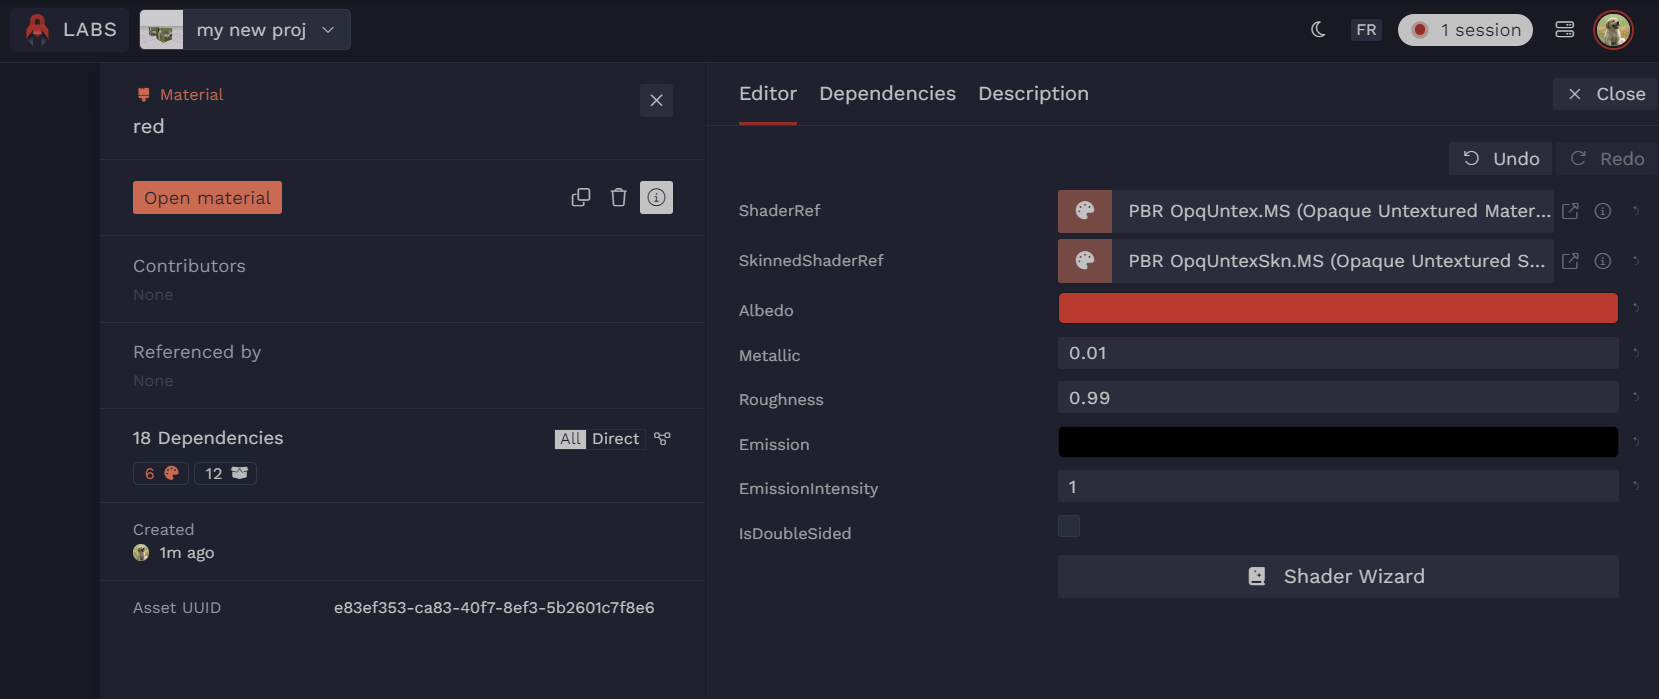
An entity’s material, working alongside its referenced shader, will impact how an entity’s mesh looks. As you change different values, like the albedo which corresponds to the basic color, the entity’s mesh will be rendered accordingly.
More in depth:
A material is an instance of a shader.
You can think of it as if the shader was a class, the material would be an instance of that class, holding actual values for each attribute.
![[object Object],[object Object],[object Object]](/images/docs/b2c5a596-3c1b-4d52-b6d2-8e68c11fd029/Untitled-676d3991-ce01-422a-bc90-754485d0acd0.png)
material component vs material reference component
To give your entity a material, you can attach a material component or a material reference component. In general, it is recommended to use the material reference component. But what’s the difference between these?
We’ve been dealing with the material component so far. This is useful for quick iteration or experimentation. However there are some shortcomings.
Suppose I have two cubes that I want to have the same material. If I want them both to be blue, then I will have to impact each entity’s material component individually.
If we have multiple entities that should all have the same material, it would be useful to have one central place to set up and modify that material so that it impacts all entities using it. This is where the material reference component comes in hand.
You can create a material asset and then assign that to the material reference component of each of your cubes. That way when you modify the material asset your cubes will be impacted at the same time.
![[object Object]](/images/docs/089a5e90-6cb6-4df1-90cd-51b610b3301e/Untitled-e4721769-9138-41c7-9021-76a265868bdd.png)
Material editor
To edit our material, click on “Open Material” in the asset info side panel.

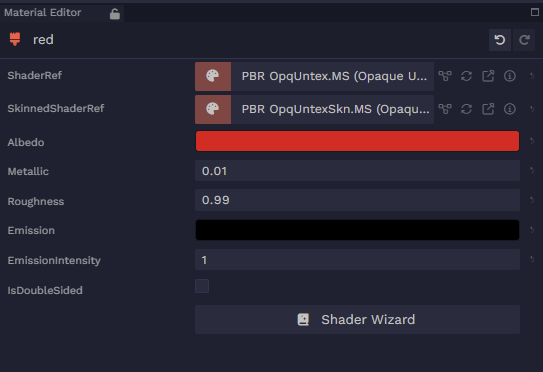
There is also a material editor extension in our scene editor that we can use. Pick an entity with a material reference and you can modify the material from here.

Shader wizard
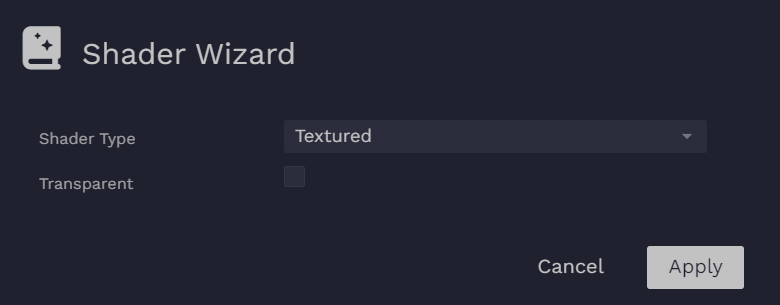
To switch between the default shaders, use the shader wizard in the material editor.

Transparent

A transparent shader will add an opacity attribute to the material, which you can play around with to make your mesh transparent. Opacity = 1 will make it fully opaque, opacity = 0 will make it fully transparent.
Shader Type

Untextured
- No texture attributes in material, no textures involved in the look of your mesh
Textured
- You will be able to add textures to your material.
- Albedo texture, roughness texture, metallic texture, normal texture, etc.
- You can use a textured shader with a mesh that has texture coordinates, also known as UVs.
Triplanar
- You will be able to add textures to your material.
- Albedo texture, roughness texture, metallic texture, normal texture, etc.
- You can use a triplanar shader with a mesh without UVs that you want to appear textured.
- The mesh will still appear textured but the texture coordinates of each vertex are decided by the shader rather than by your mesh.
PBR
The default shaders use the PBR (Physically Based Material) model. The PBR model contains “physical” attributes such as the base color or albedo, roughness, metallic and emission. There is a lot of information online on PBR. You can also play around with the values, but know that the effects of attributes like roughness and metallic will be more obvious when we learn how to set up our environment and lighting is involved.