Setup your first web app
In this tutorial, we’ll learn how to upload a 3d model to 3dverse, how to modify its look and feel in the 3dverse Editor and how to integrate the 3d scene in a Javascript web app.
Create a 3dverse project
To start, set up an account on https://console.3dverse.com and complete the onboarding. You’ll then be prompted to create your first project.

Once the project is created, you can upload a new 3D file by clicking on the + New
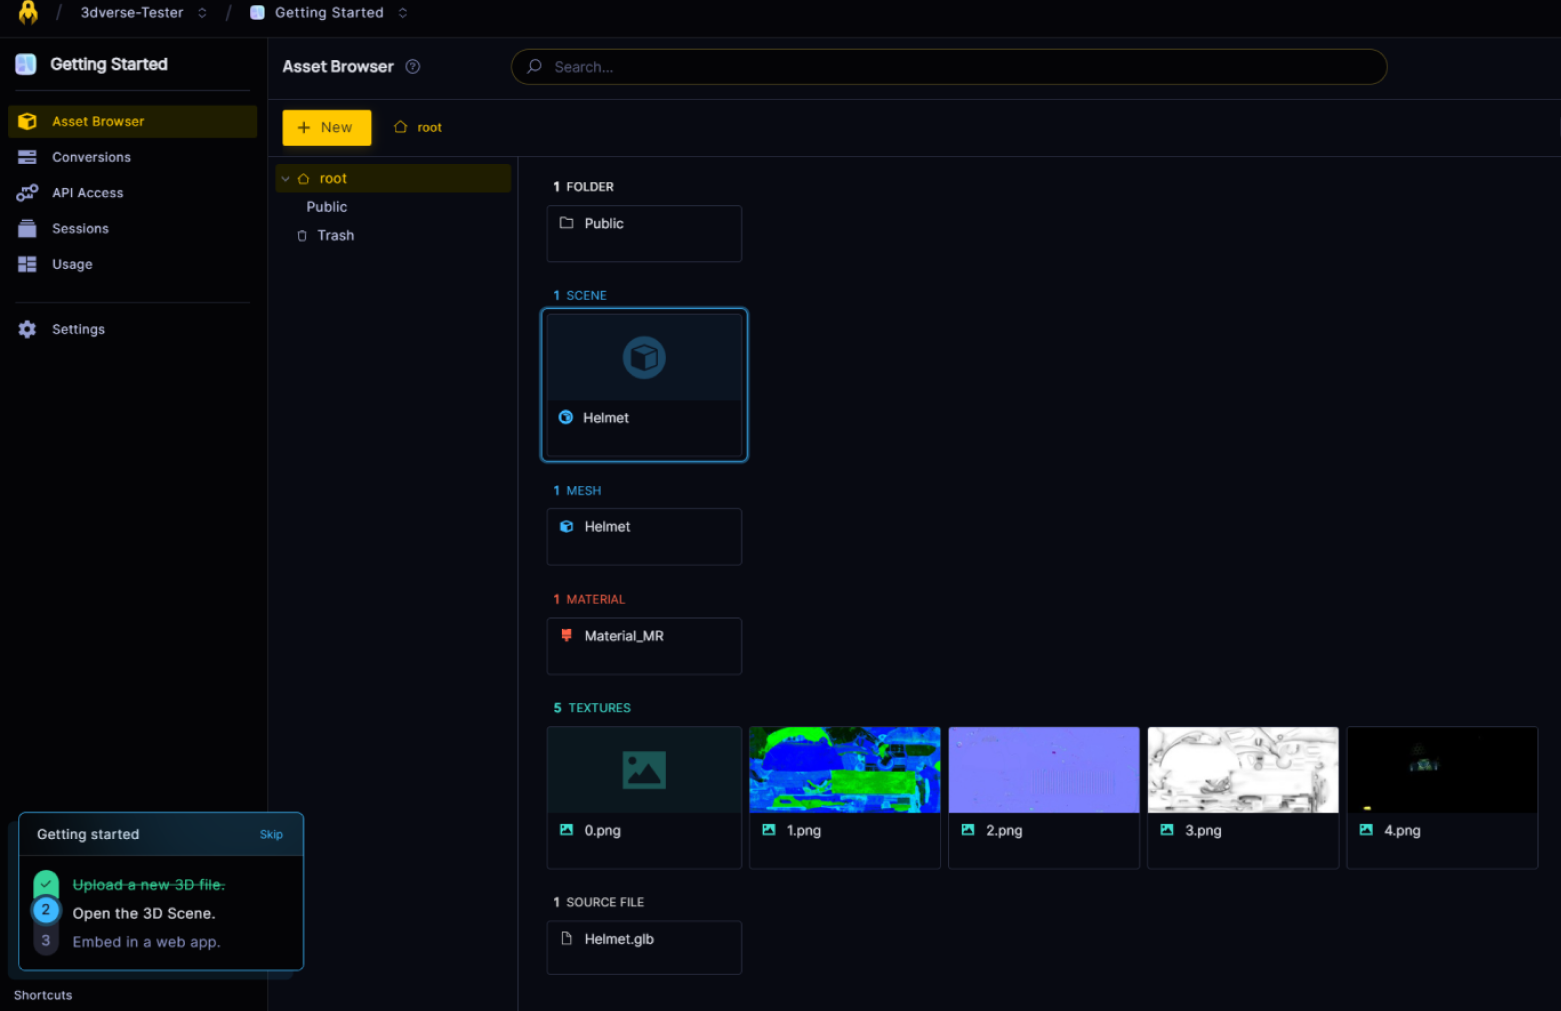
You can either choose to upload your own 3D file or use the helmet provided in the onboarding module. For example purposes, we will choose to use the hemet.glb.

💡 If you are uploading your own 3D file, then you can view a list of all supported formats here.
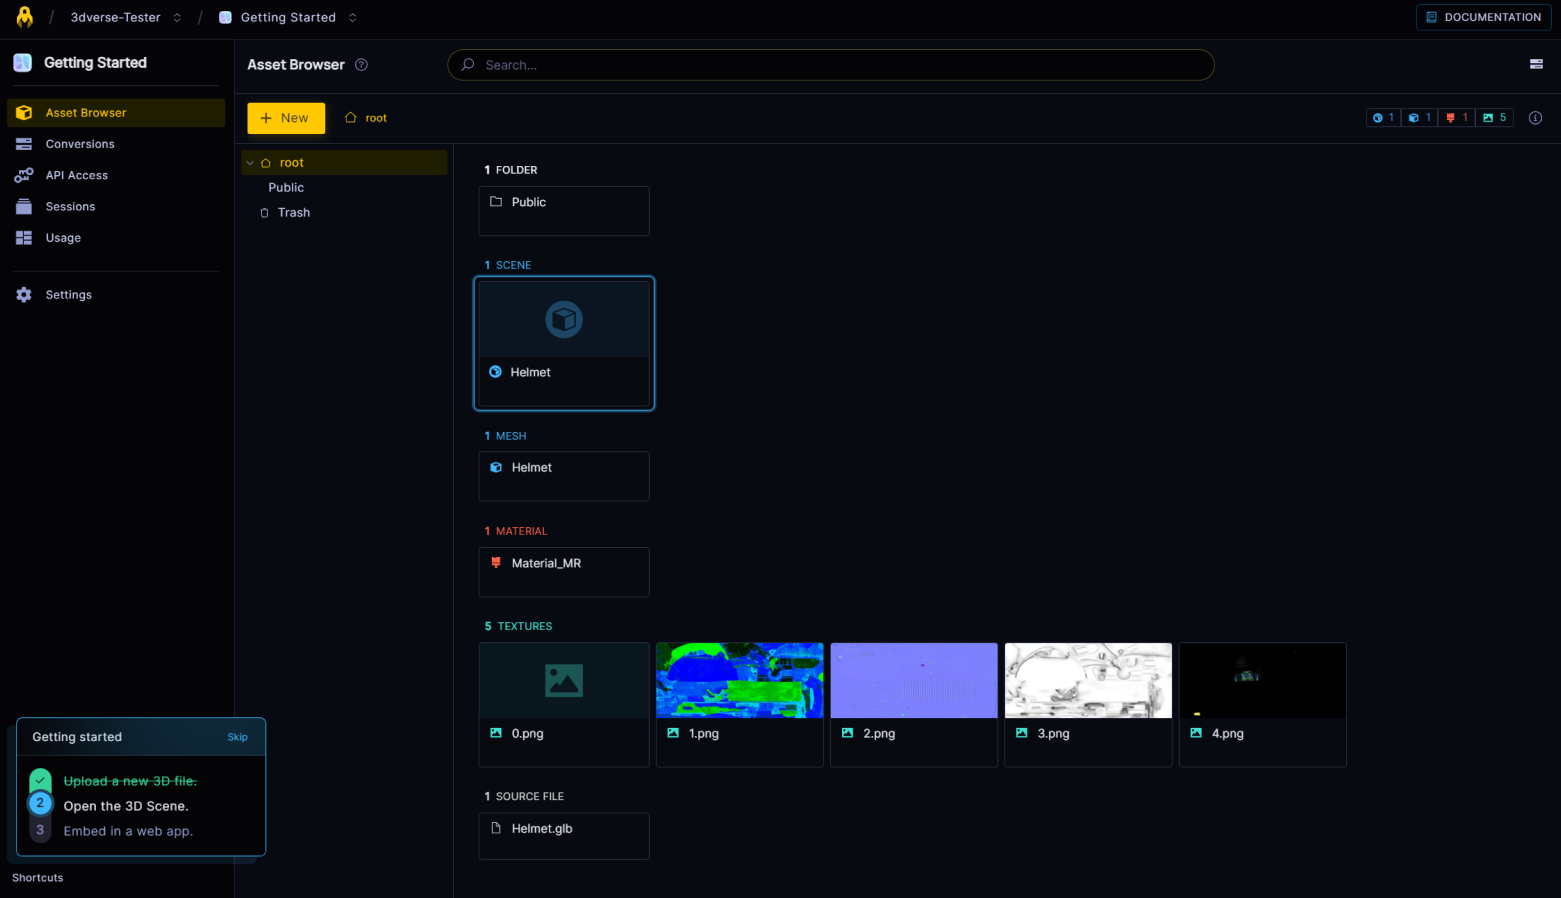
Then, open the Scene Editor to view your 3D assets by double-clicking on your scene - in this case Helmet. This will start a new rendering session.
💡 The Scene Editor allows you to edit your scene and its environment in real-time, giving you full control over the look and feel of your project.

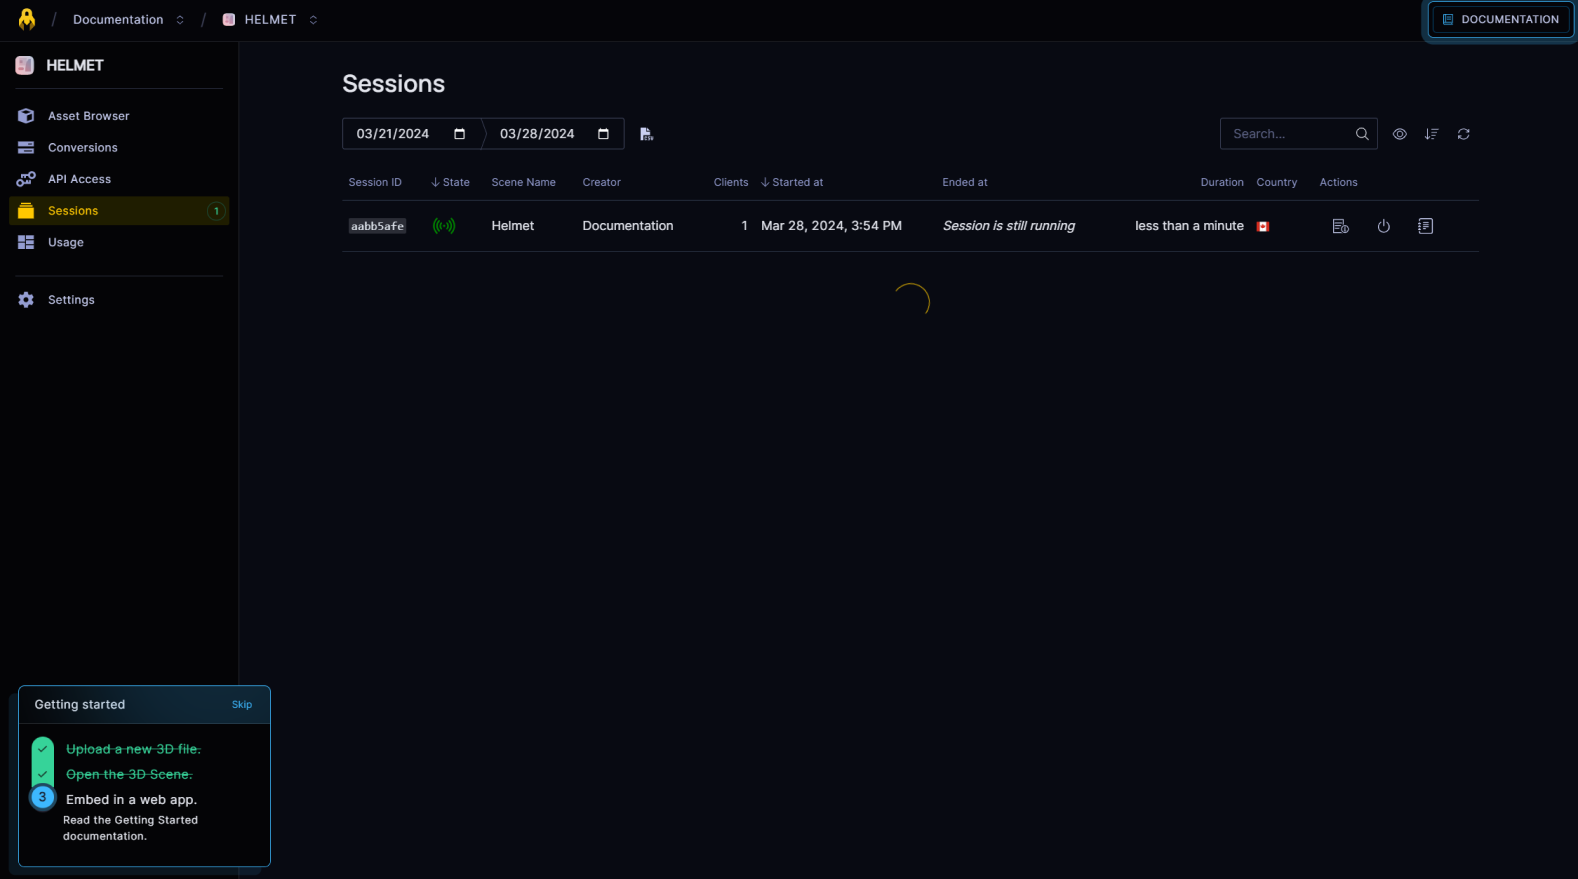
After opening a rendering session, a new entry in the Sessions page will be created.
Create a web app
Prior to editing the scene, we’ll learn how to embed the 3d viewer in a web app using the Livelink.js SDK.
Start by creating an empty HTML file.
Navigate to the API Access page in the Console. Copy and paste the code in your HTML file.
Replace the “SCENE_UUID” string with the Asset UUID value of the main scene located in the public folder.
💡 The Asset UUID can be found in the side panel of the Asset Browser.
Save your file and then open it in a web browser. Your app will connect to the 3dverse platform and render the default Scene.
💡 In the next section, we’ll learn how to upload a source file and use it in the 3D scene.