Set up a Cesium asset
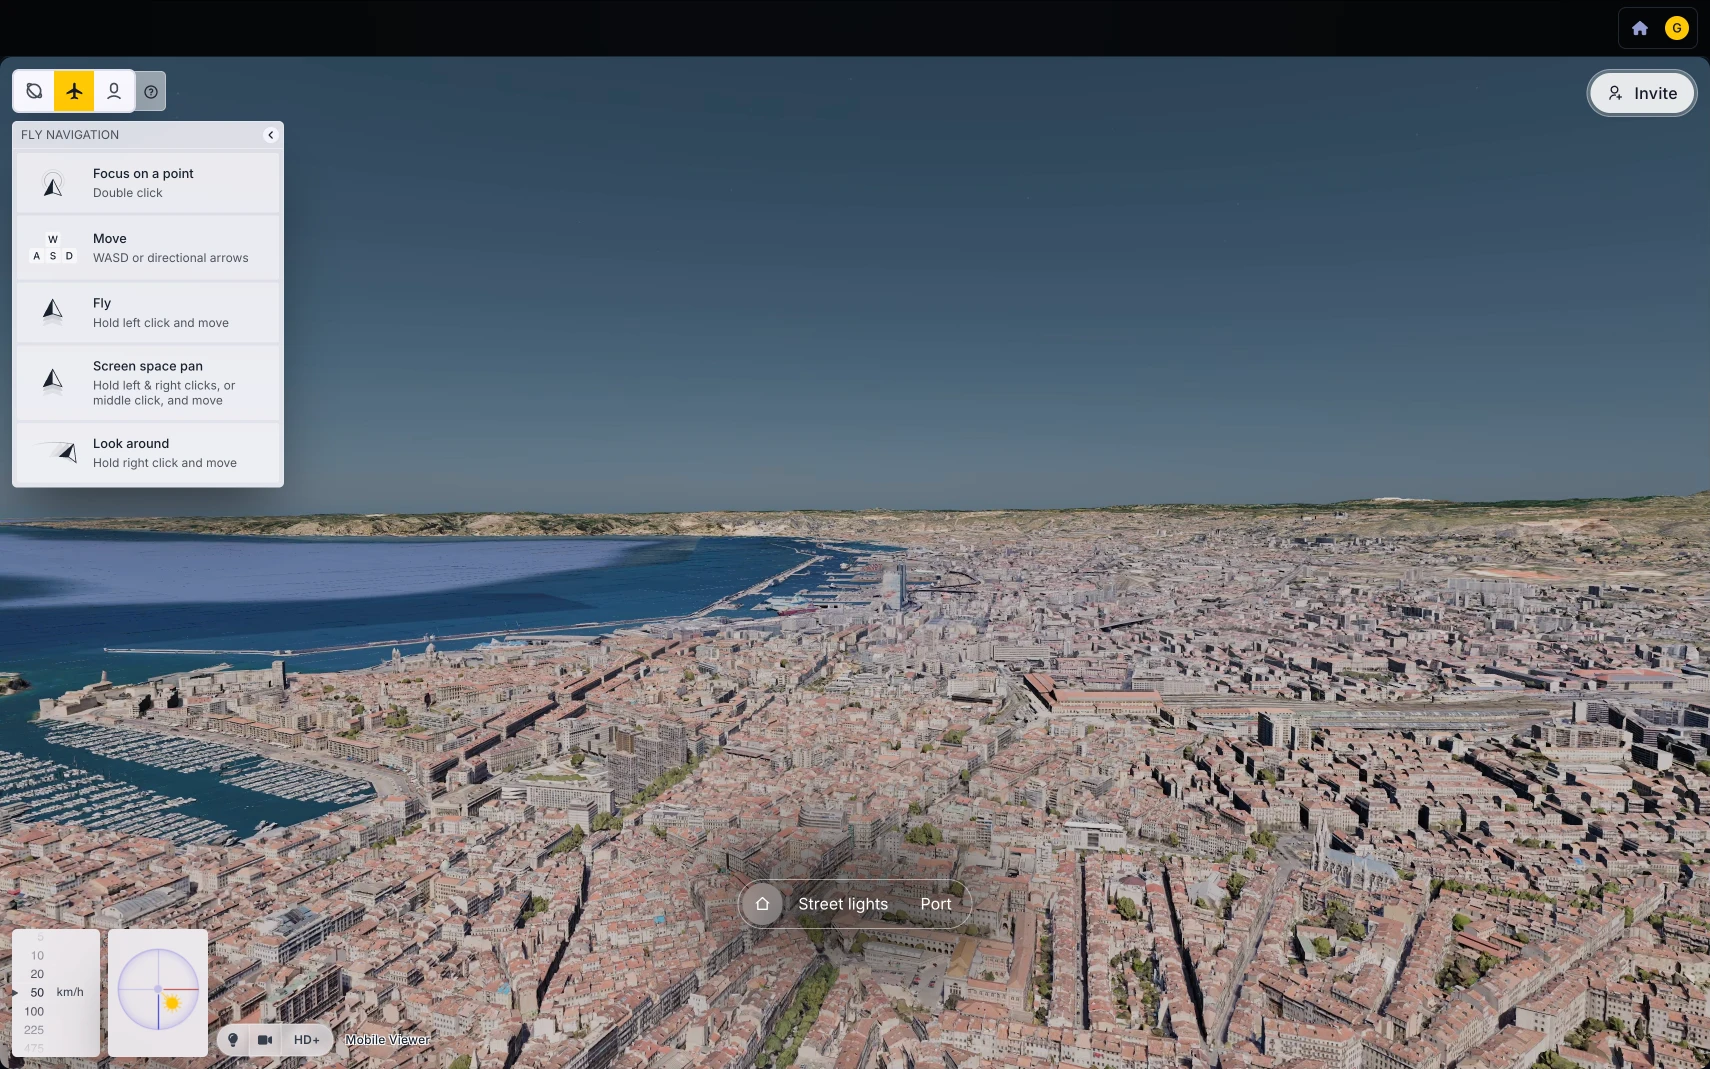
Cesium is a powerful open-source platform to create 3D geospatial applications and visualize large datasets of terrain data. In this tutorial, you will discover how to add a Cesium asset to your scene and configure its options.
Prerequisites
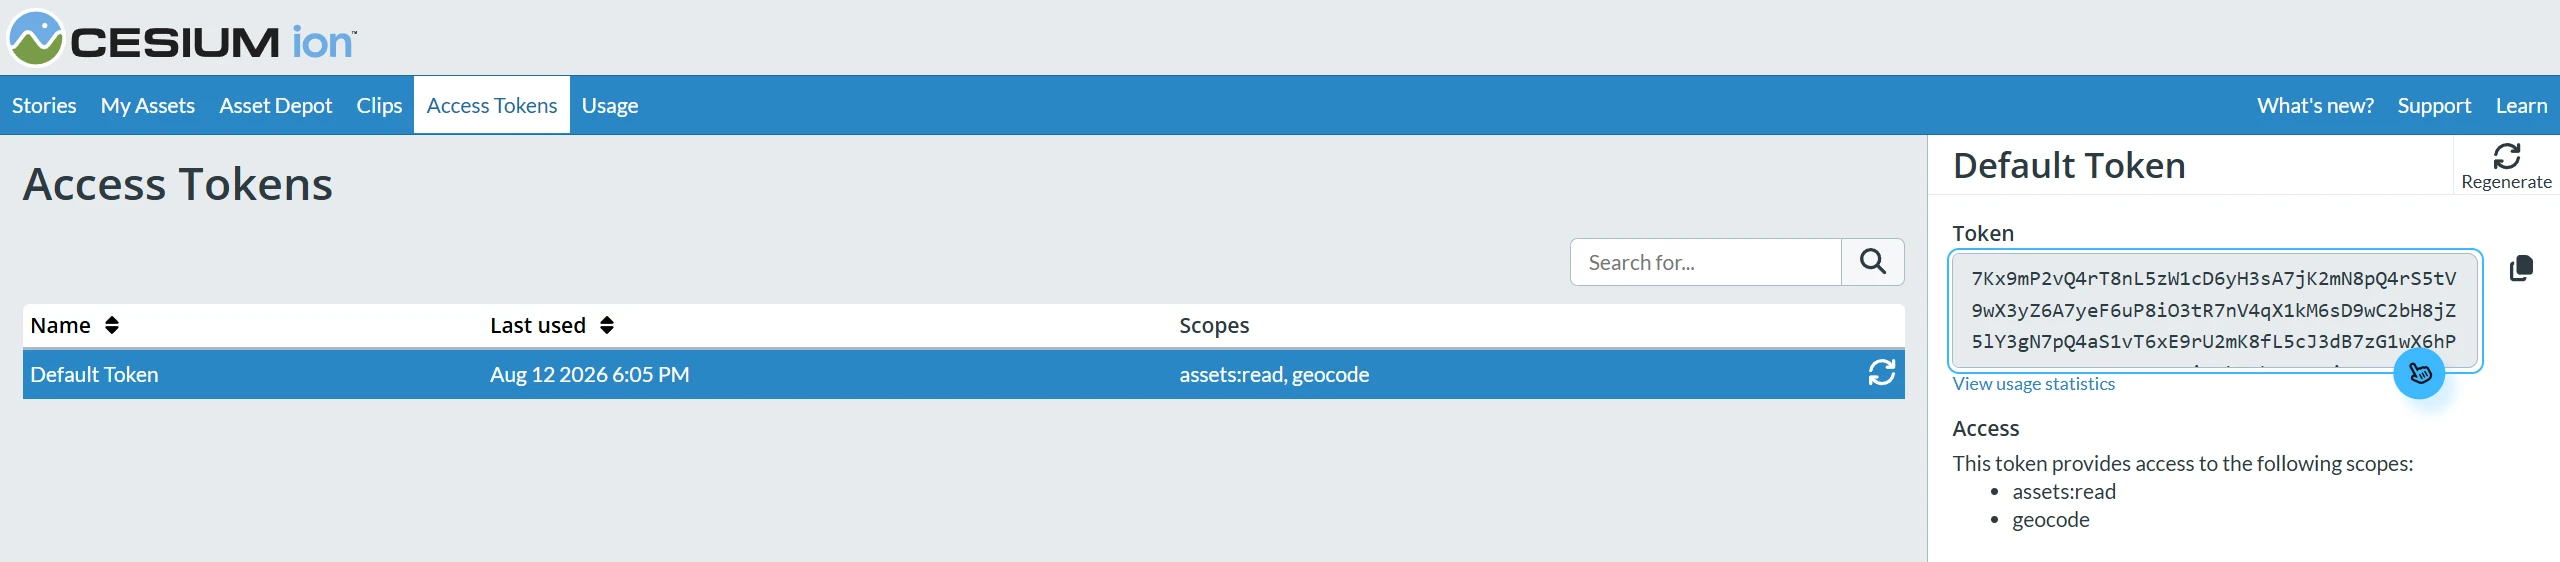
Before getting started, create a free Cesium ion account. You will need:
- Your Cesium ion access token with at least the assets:read scope enabled.
- The asset ID of the dataset you want to load.
Create a scene in 3dverse
If it's your first time using 3dverse, you will need to create a new scene in the 3dverse console before adding a Cesium asset.
- Log in or sign up at the 3dverse Console.
- Create a
New Project
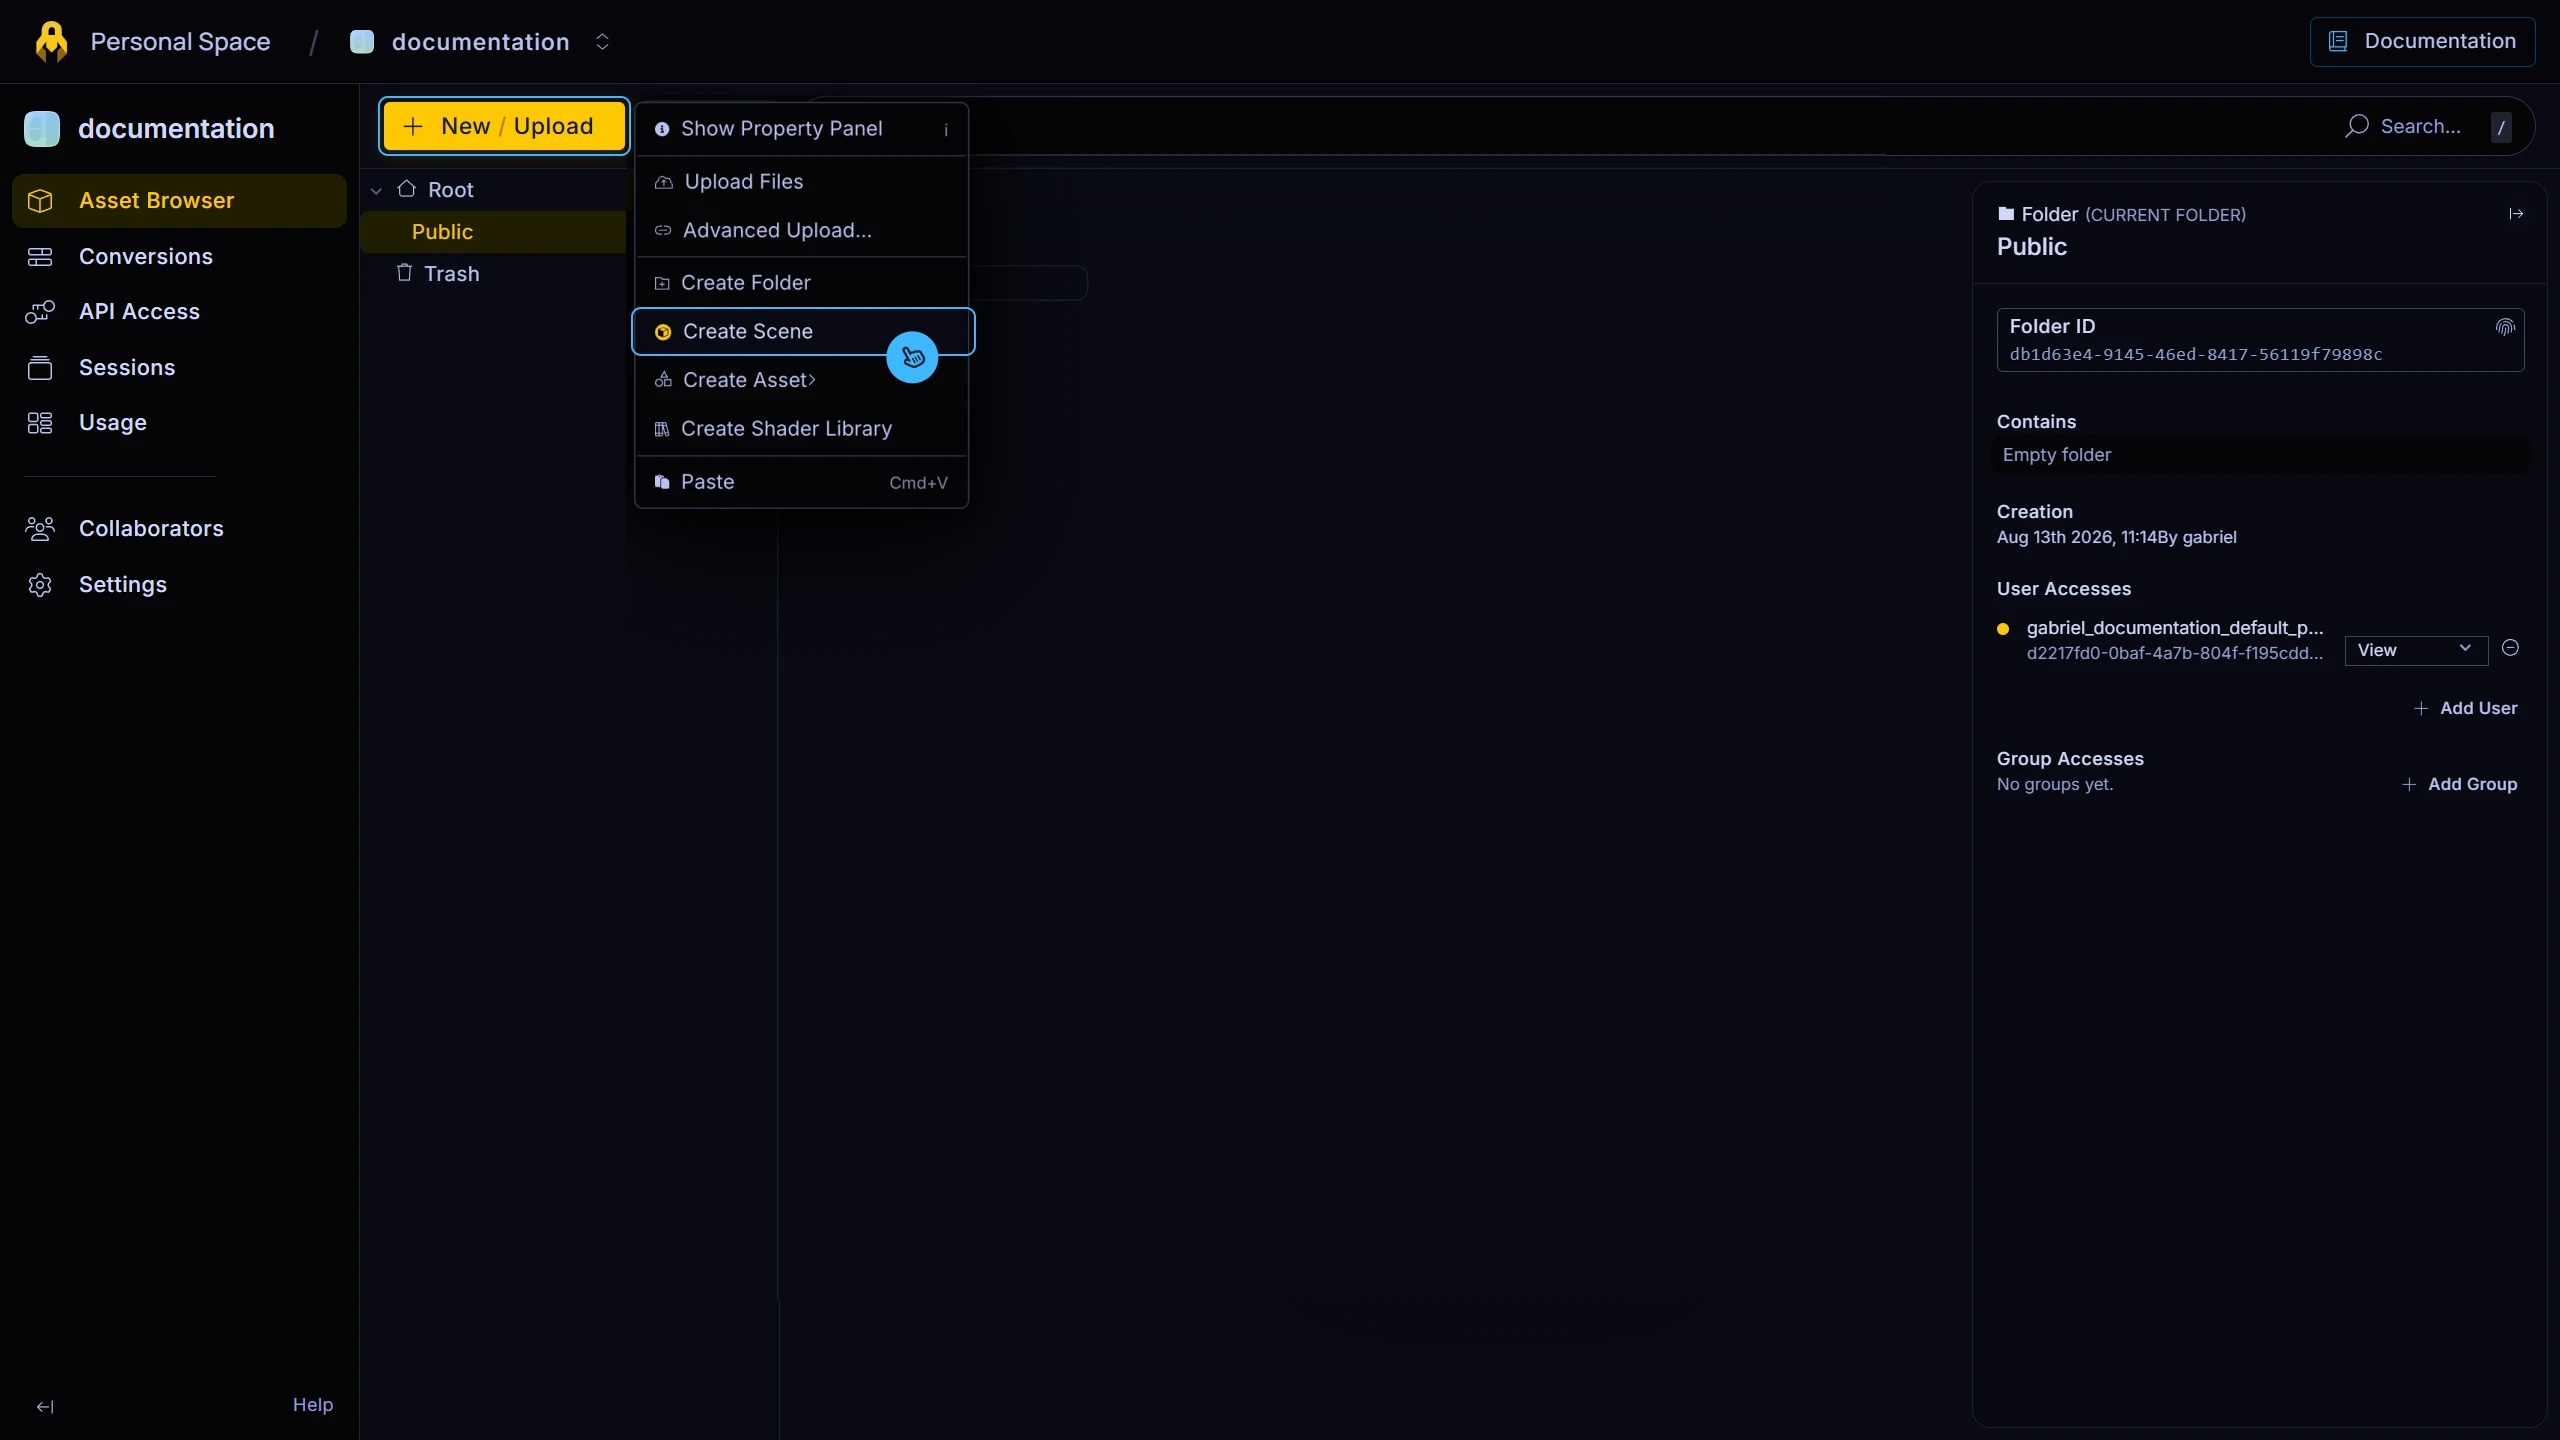
. - In the Asset Browser, create an empty scene by hitting
New / Upload
thenCreate Scene
. - Double-click on the newly created scene asset to open it in the 3dverse editor.
Enable the Cesium Plugin in your scene
Open the 3dverse scene you want to load your Cesium asset into from the 3dverse console.
Then in the Settings extension, locate the Plugins section under Miscellaneous.
Click Add a row
, then enter the following lowercase value: cesium.
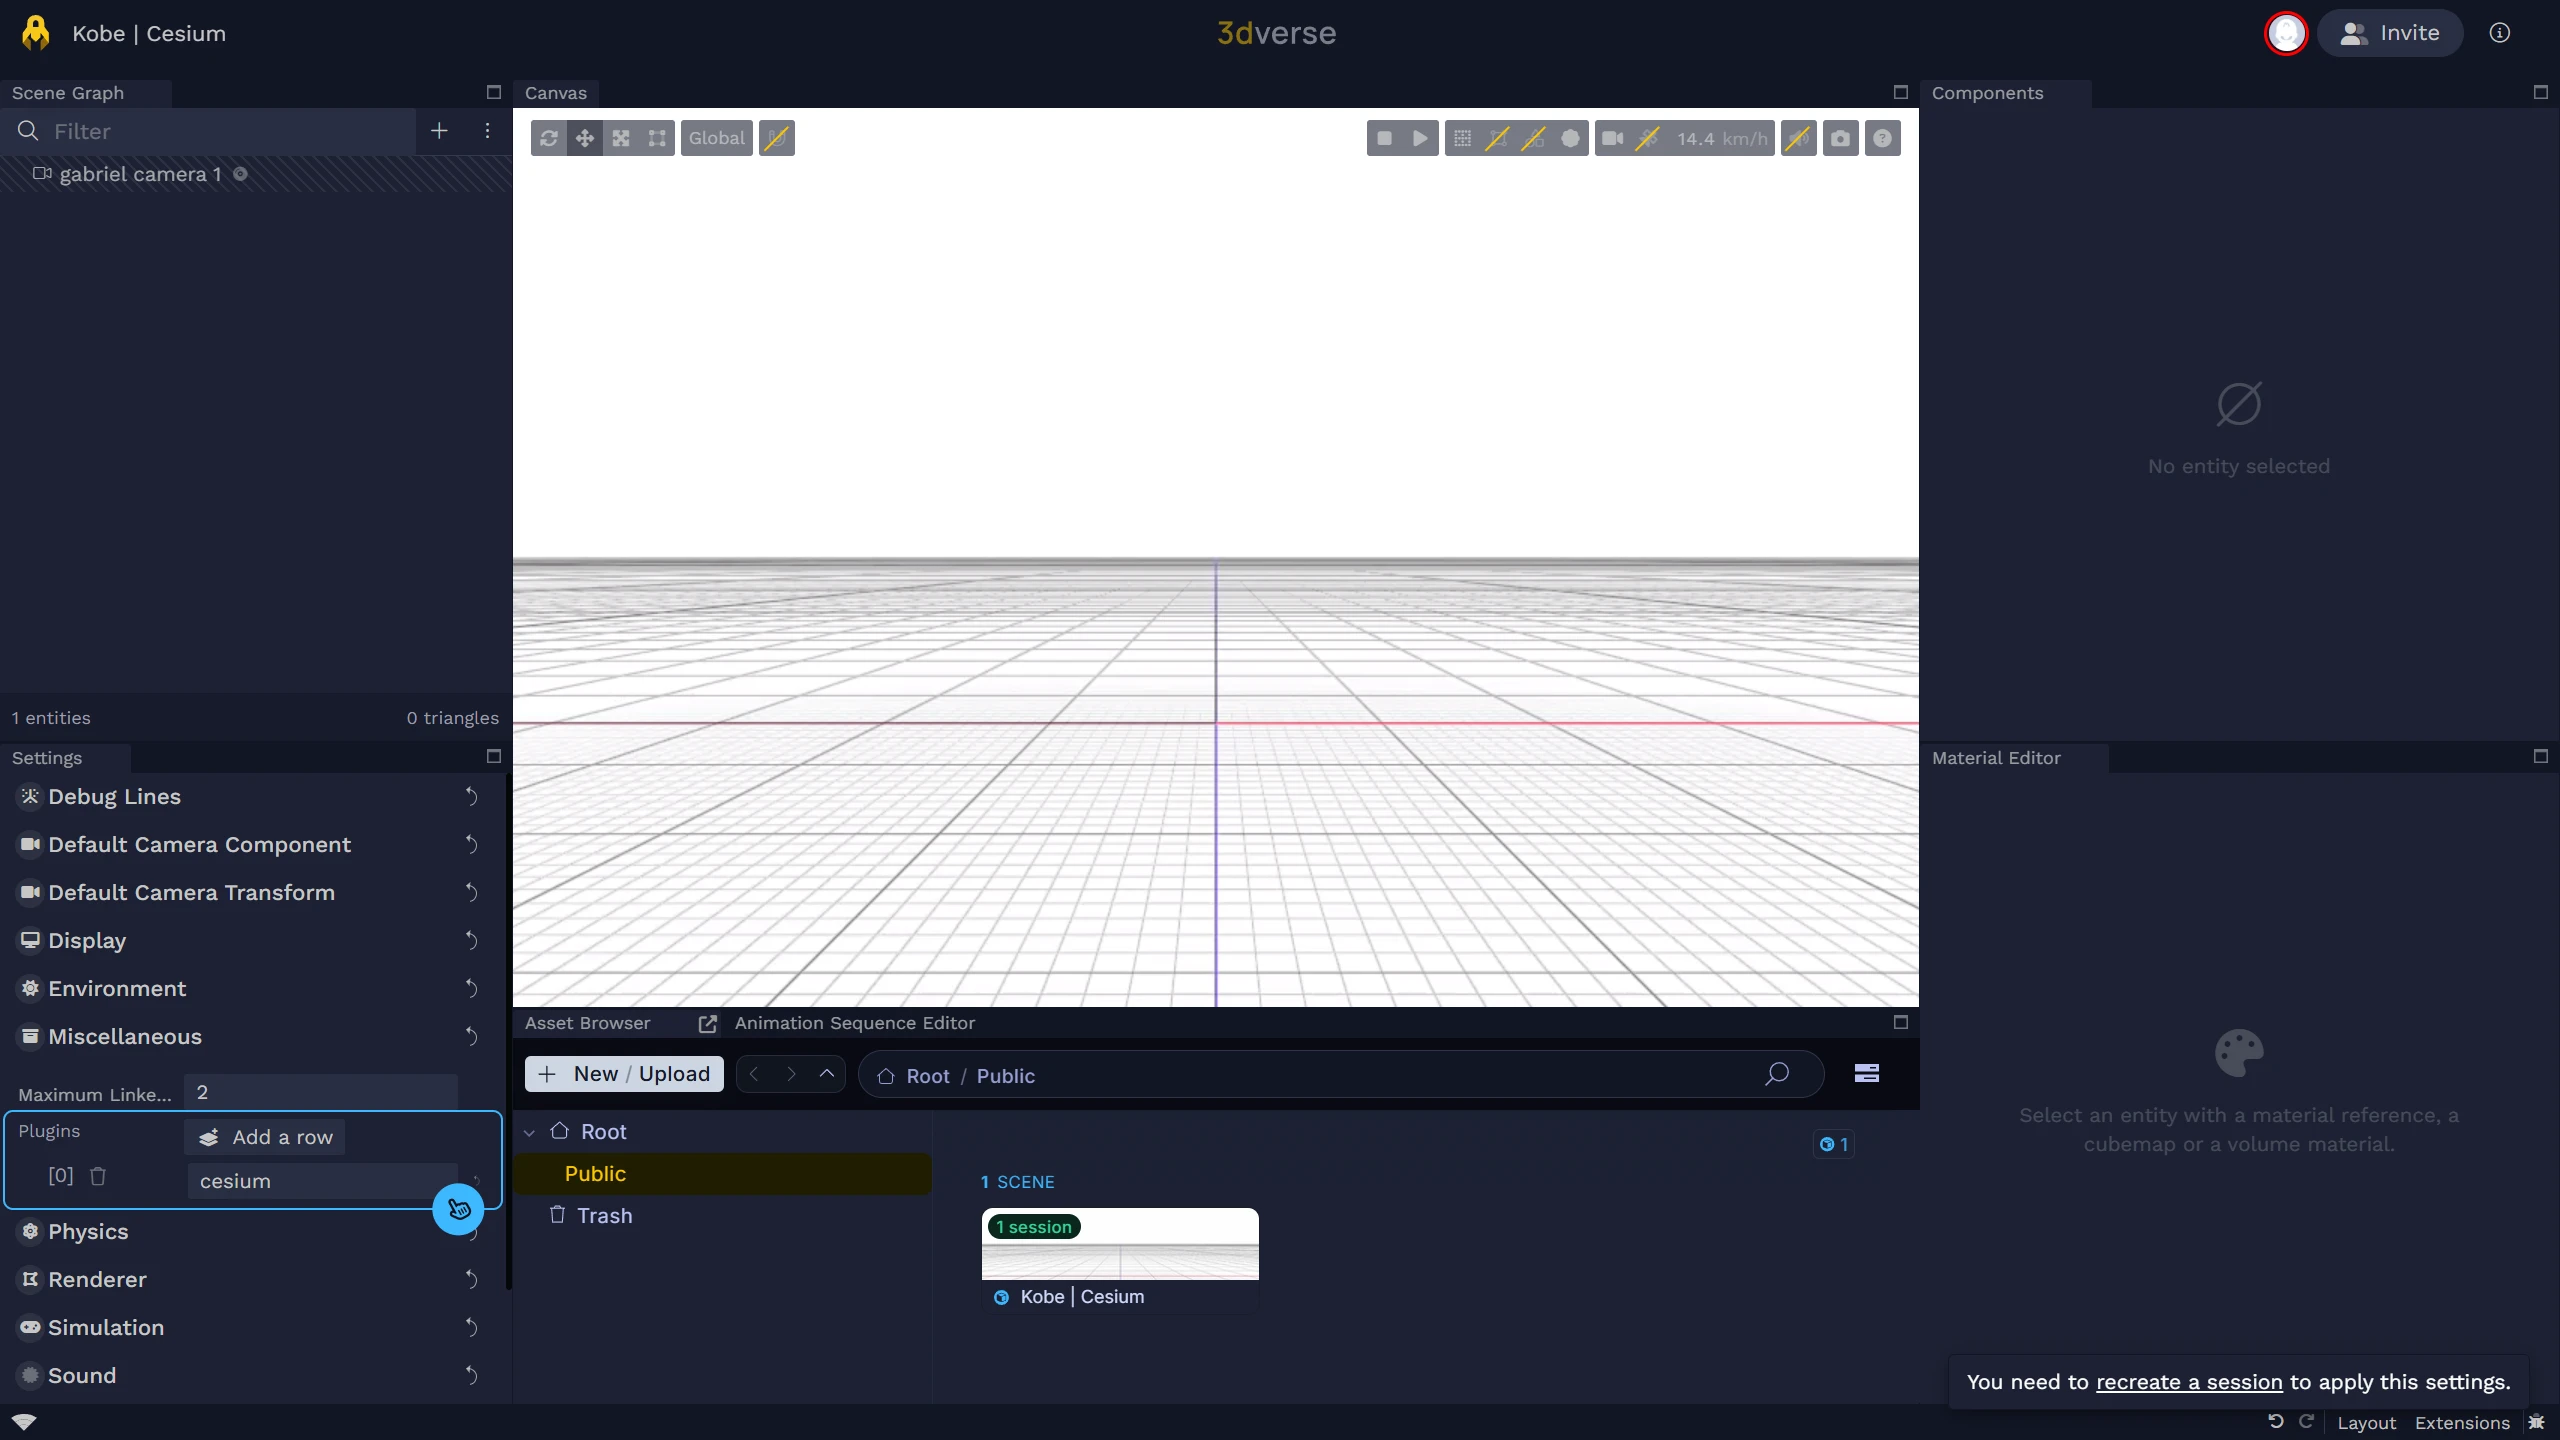
For the newly enabled Cesium plugin to be loaded, reopen your scene from the editor notification or from your project in the 3dverse console to recreate a new session with the new settings applied.
Create a Cesium Entity
-
In the Scene Graph, create a new blank entity. You may name it anything you like, such as the city or location represented by the dataset.
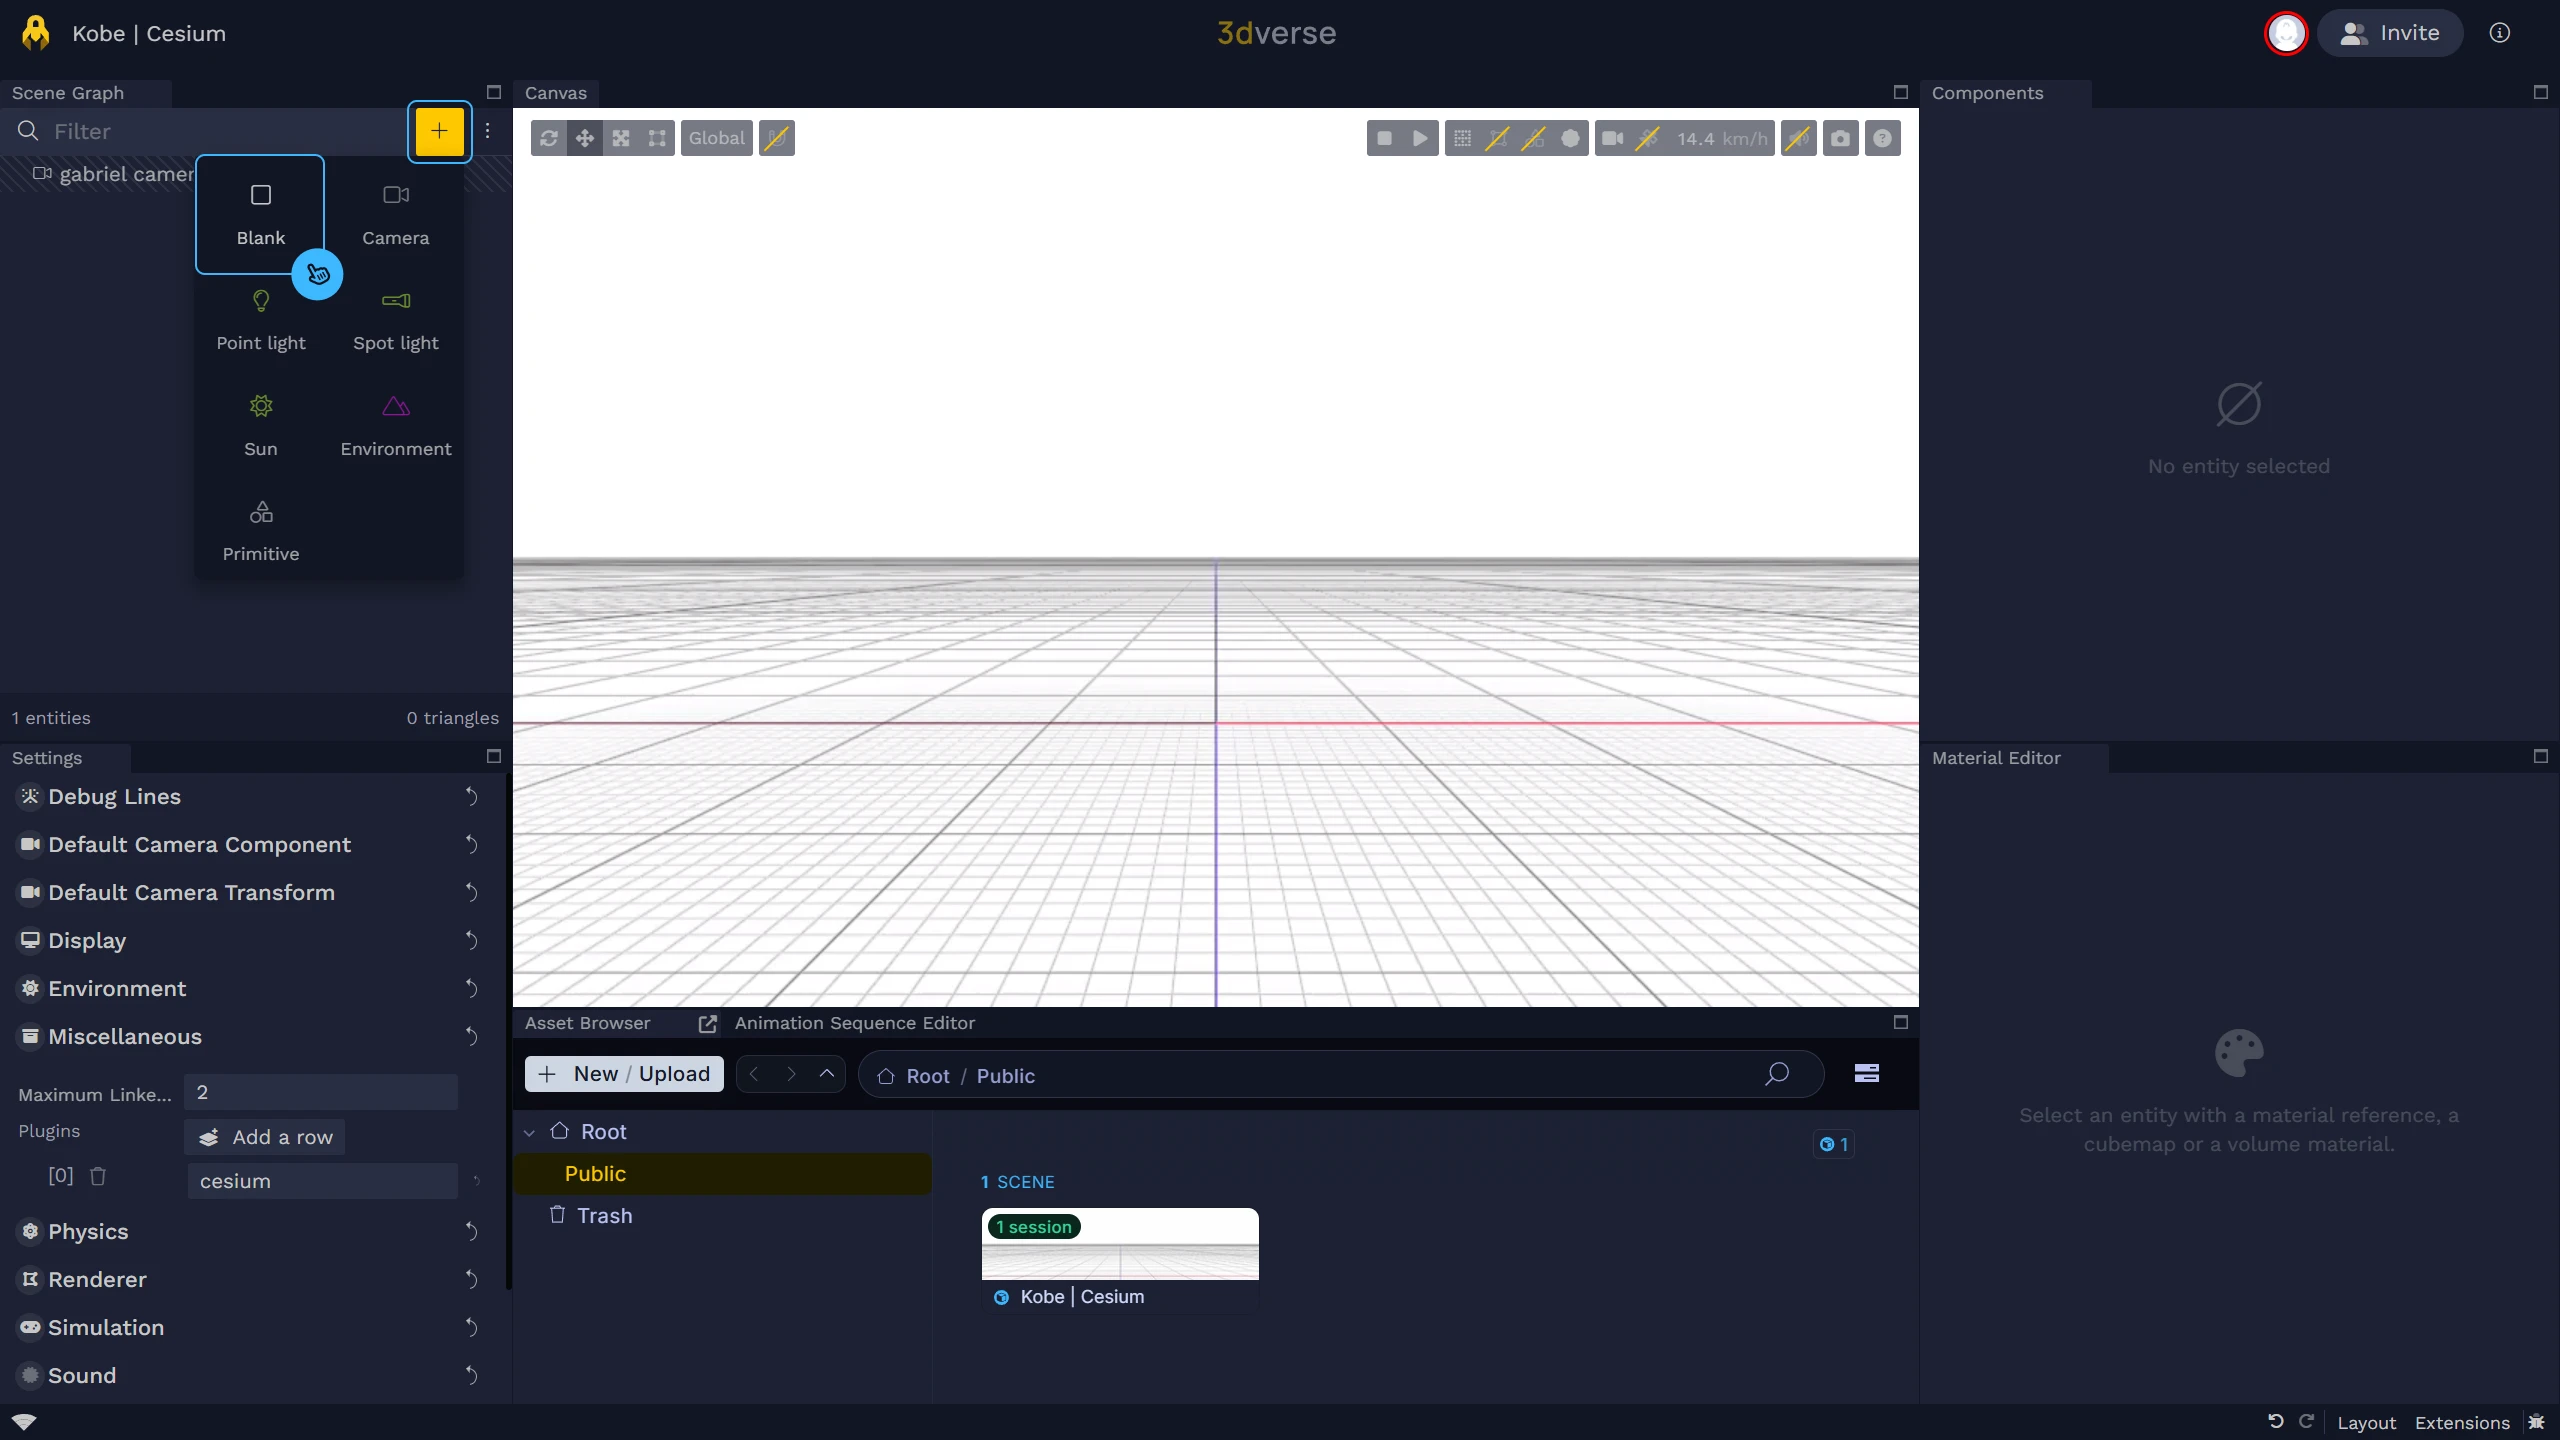
Create a new blank entity from the Scene Graph. -
Select the new entity, then in the Components extension, click the
Add a component or attach a script
text field and search for theTags
component.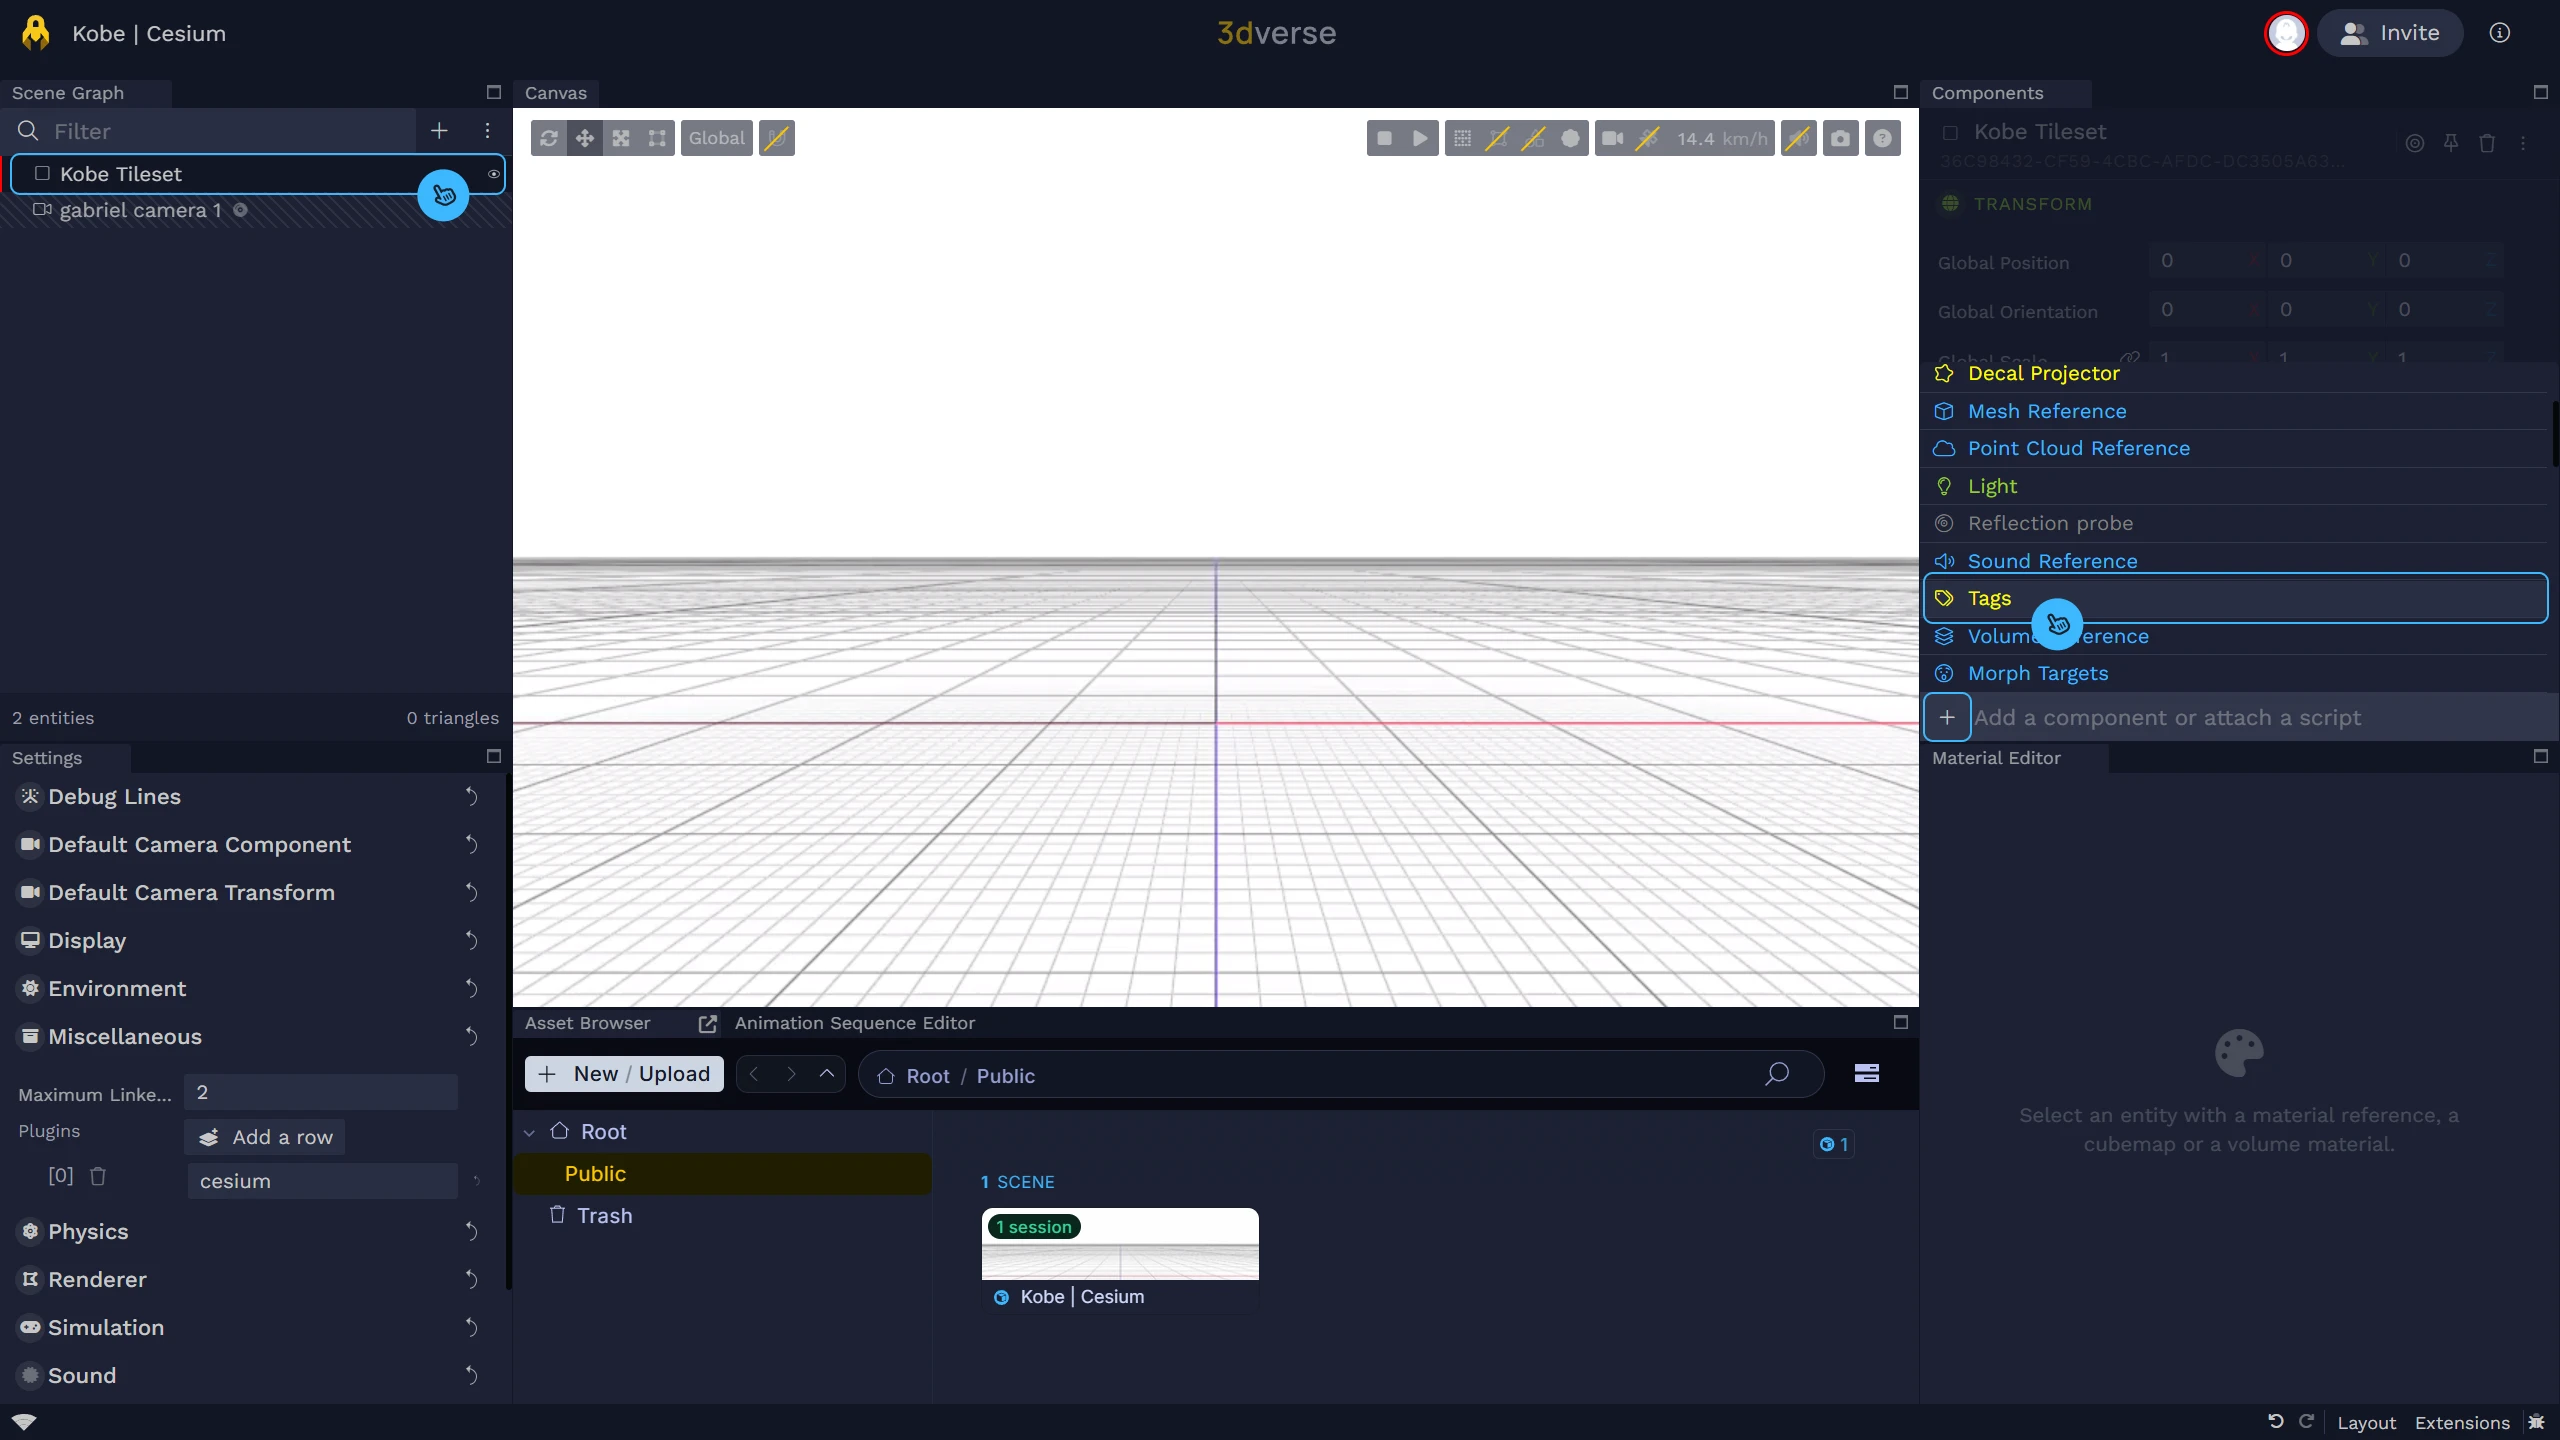
Add the tags component to an entity. -
Add a new tag with the
Add a row
button.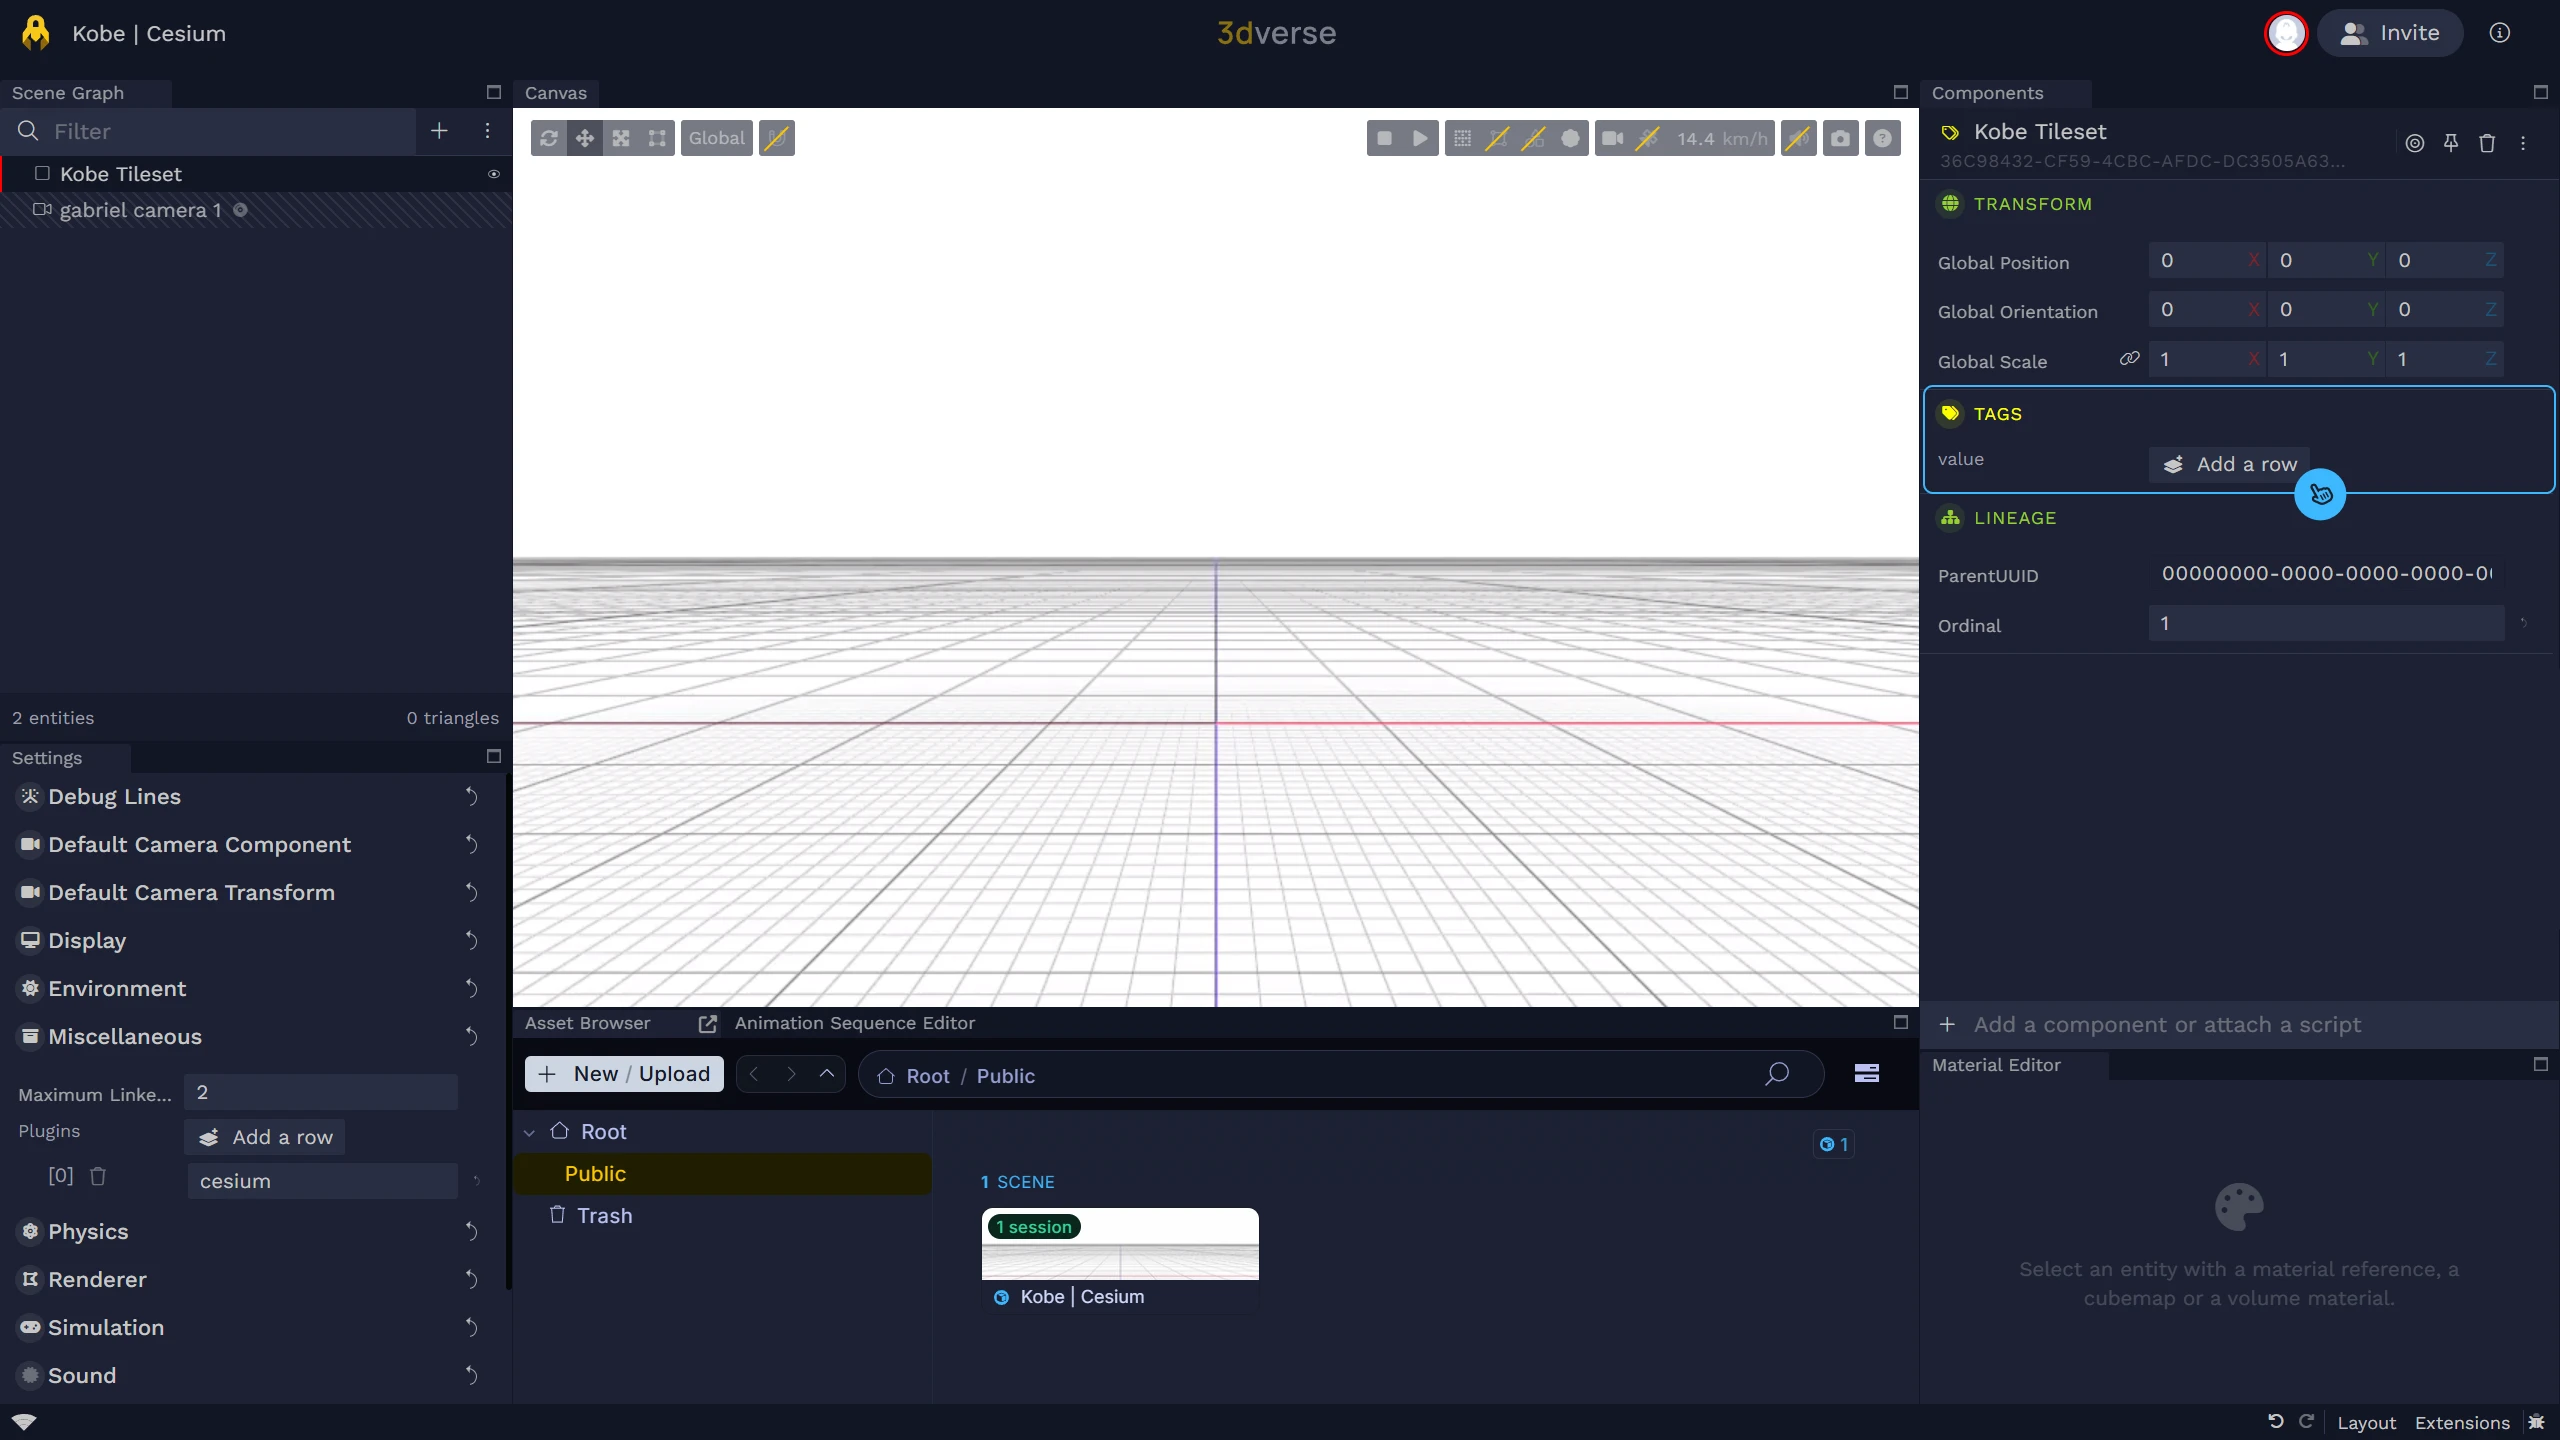
The tags component is empty by default.
Configure the Tags Component
Every Cesium-related entity must have its first tag begin with cesium (lowercase).
The configuration tags must be added as key-value pairs using the following format:
{key}: {value}
Example with Kobe, Japan from Google Photogrammetry Tileset:
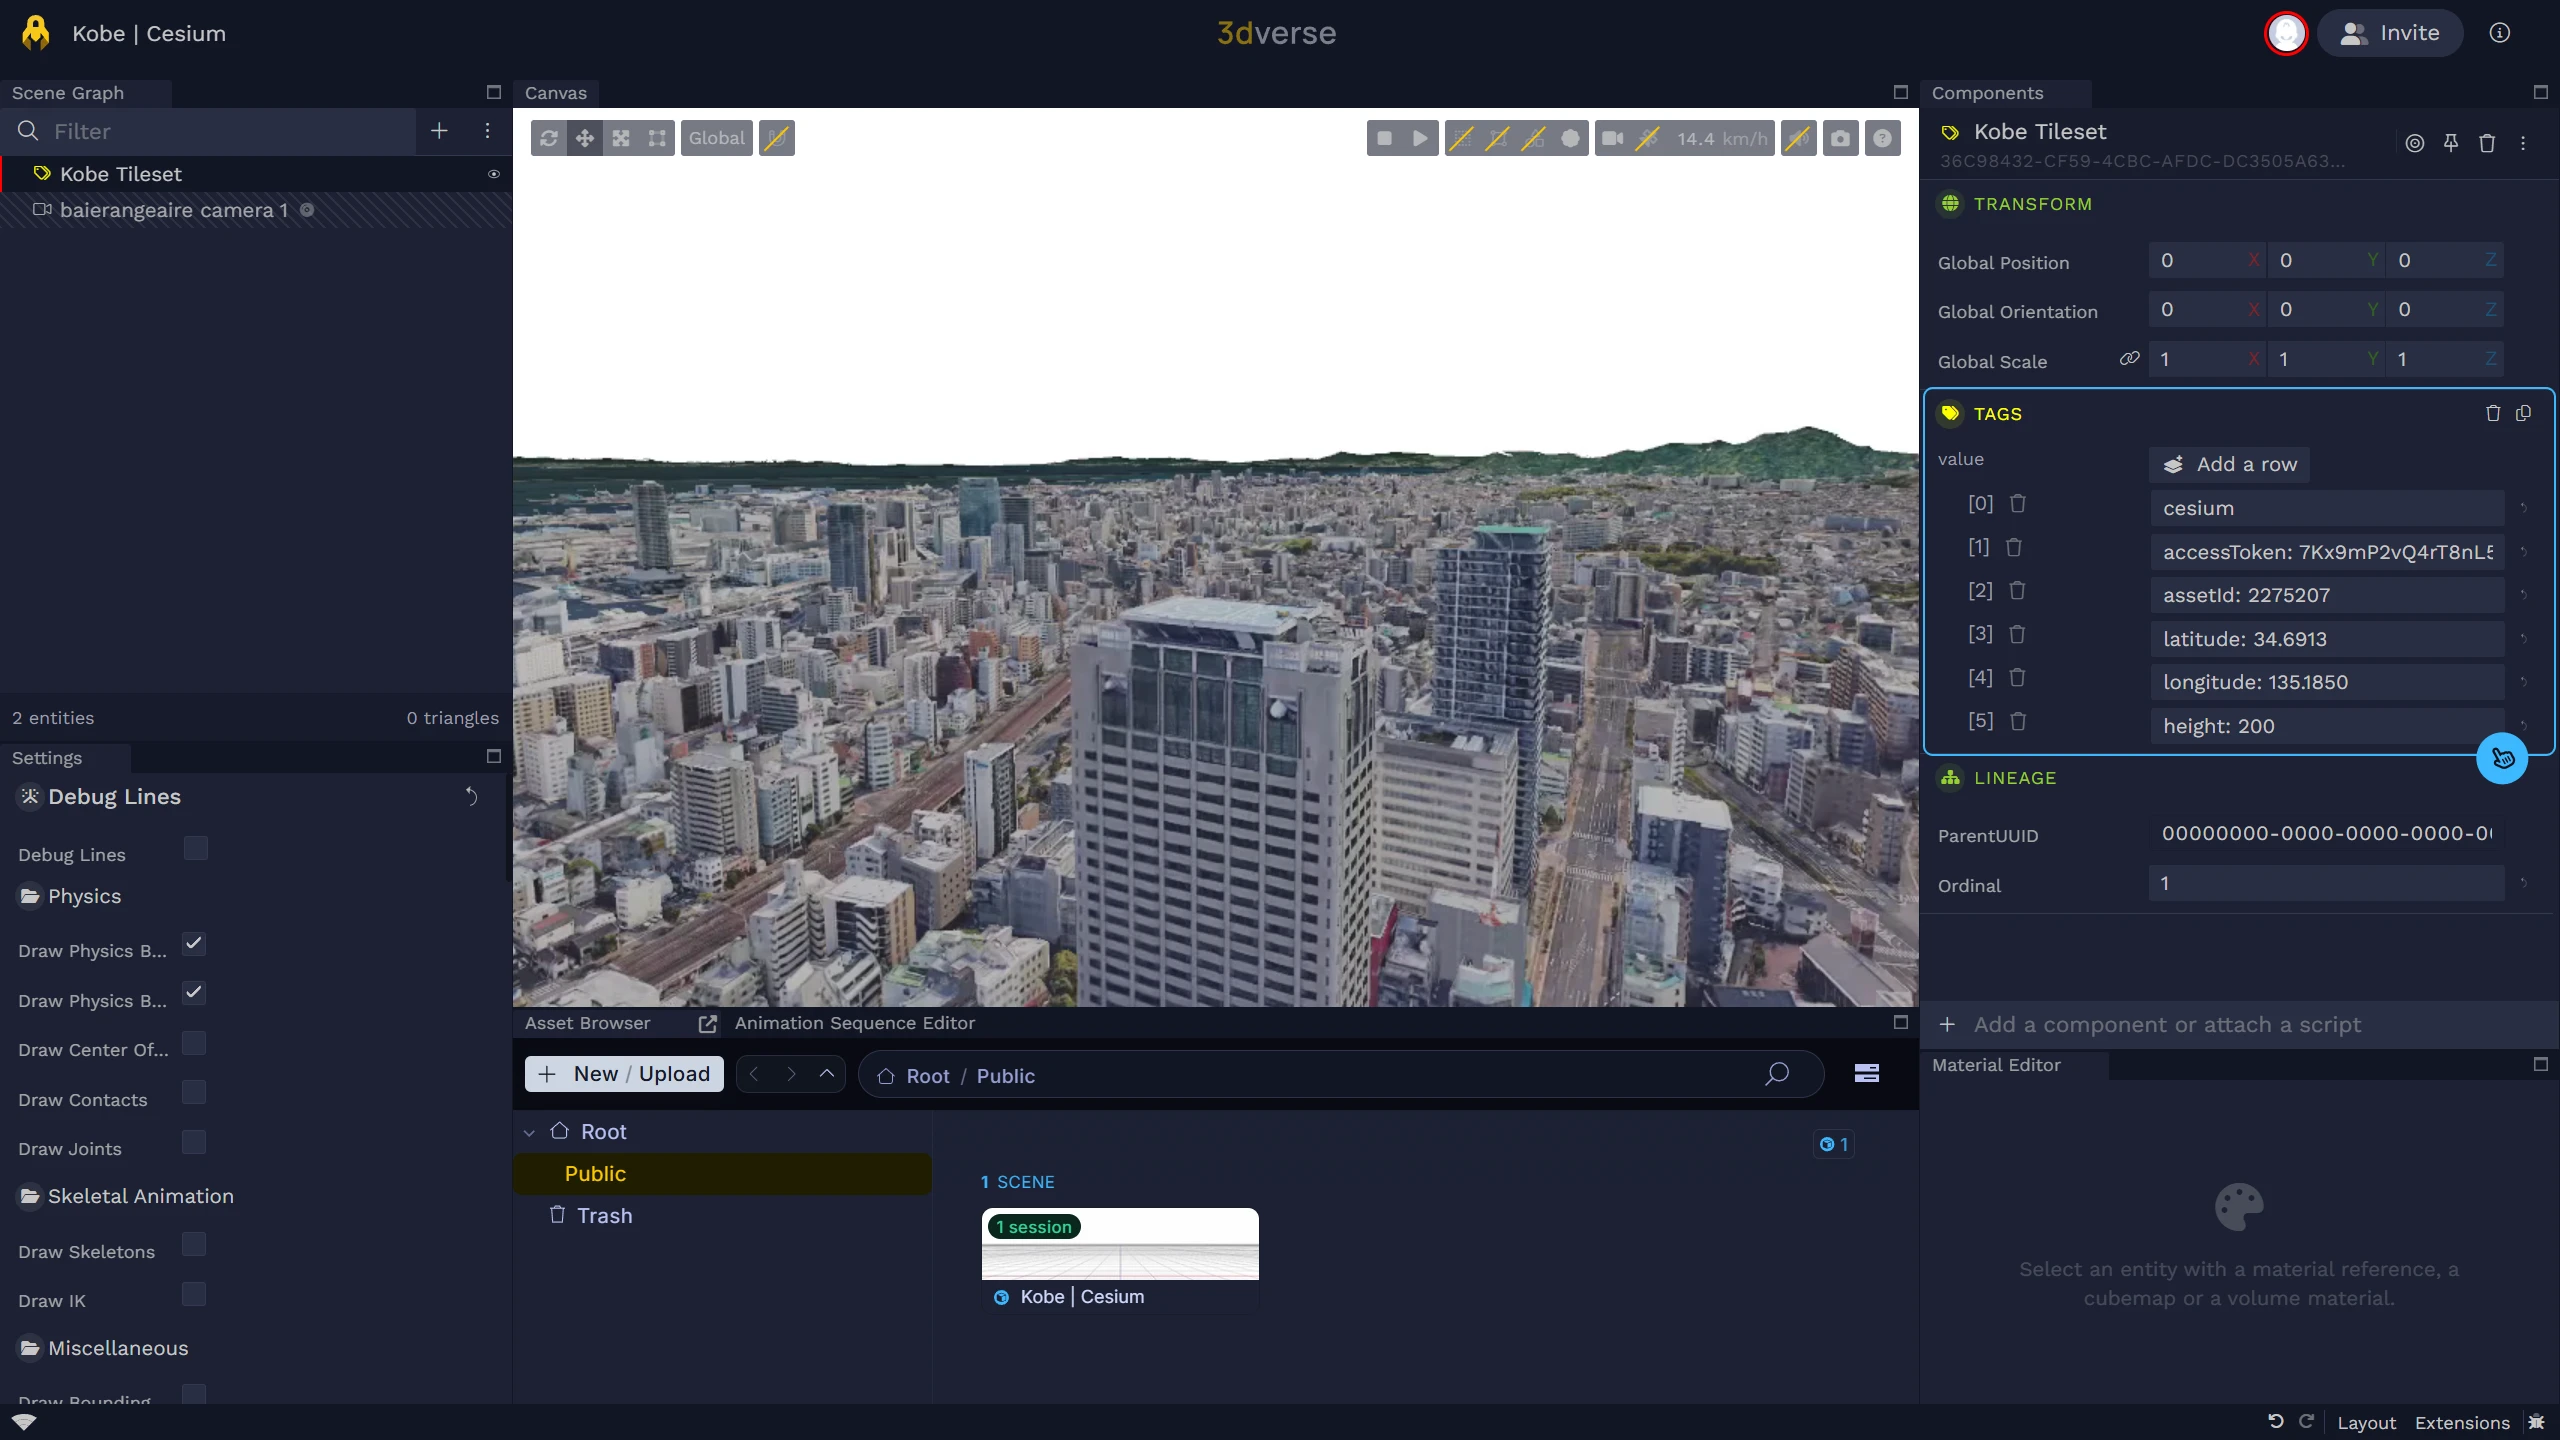
List of Cesium tileset configuration tags
The tag keys and values are case-sensitive. Keys use camelCase.
| Key | Required | Description |
|---|---|---|
| accessToken | Yes | Cesium ion access token. |
| assetId | Yes | Cesium ion asset ID (3D Tiles or Terrain). |
| imageryAssetId | No | Imagery asset draped over the tileset. |
| latitude | No | Georeference origin latitude. |
| longitude | No | Georeference origin longitude. |
| height | No | Georeference origin height. |
| enableCollisions | No | Use true/false to enable/disable collisions. |
| maxCollisionRange | No | Maximum distance (meters) from the camera within which tile collisions are enabled. |
Example
Explore a 3dverse scene of Marseille, France using cesium.