Set up a Basic 3D Scene (Camera & Environment)
Before you can customize lighting or backgrounds, you need a minimal 3D setup — just enough to make your scene visible. In 3dverse, most of this setup is already handled for you.
Minimum Setup
To make your scene visible and correctly lit, you only need:
- Camera – defines what part of the scene you can see
- Environment – defines the background and provides ambient light
- (Optional) Sun – adds direct light and shadows
Camera
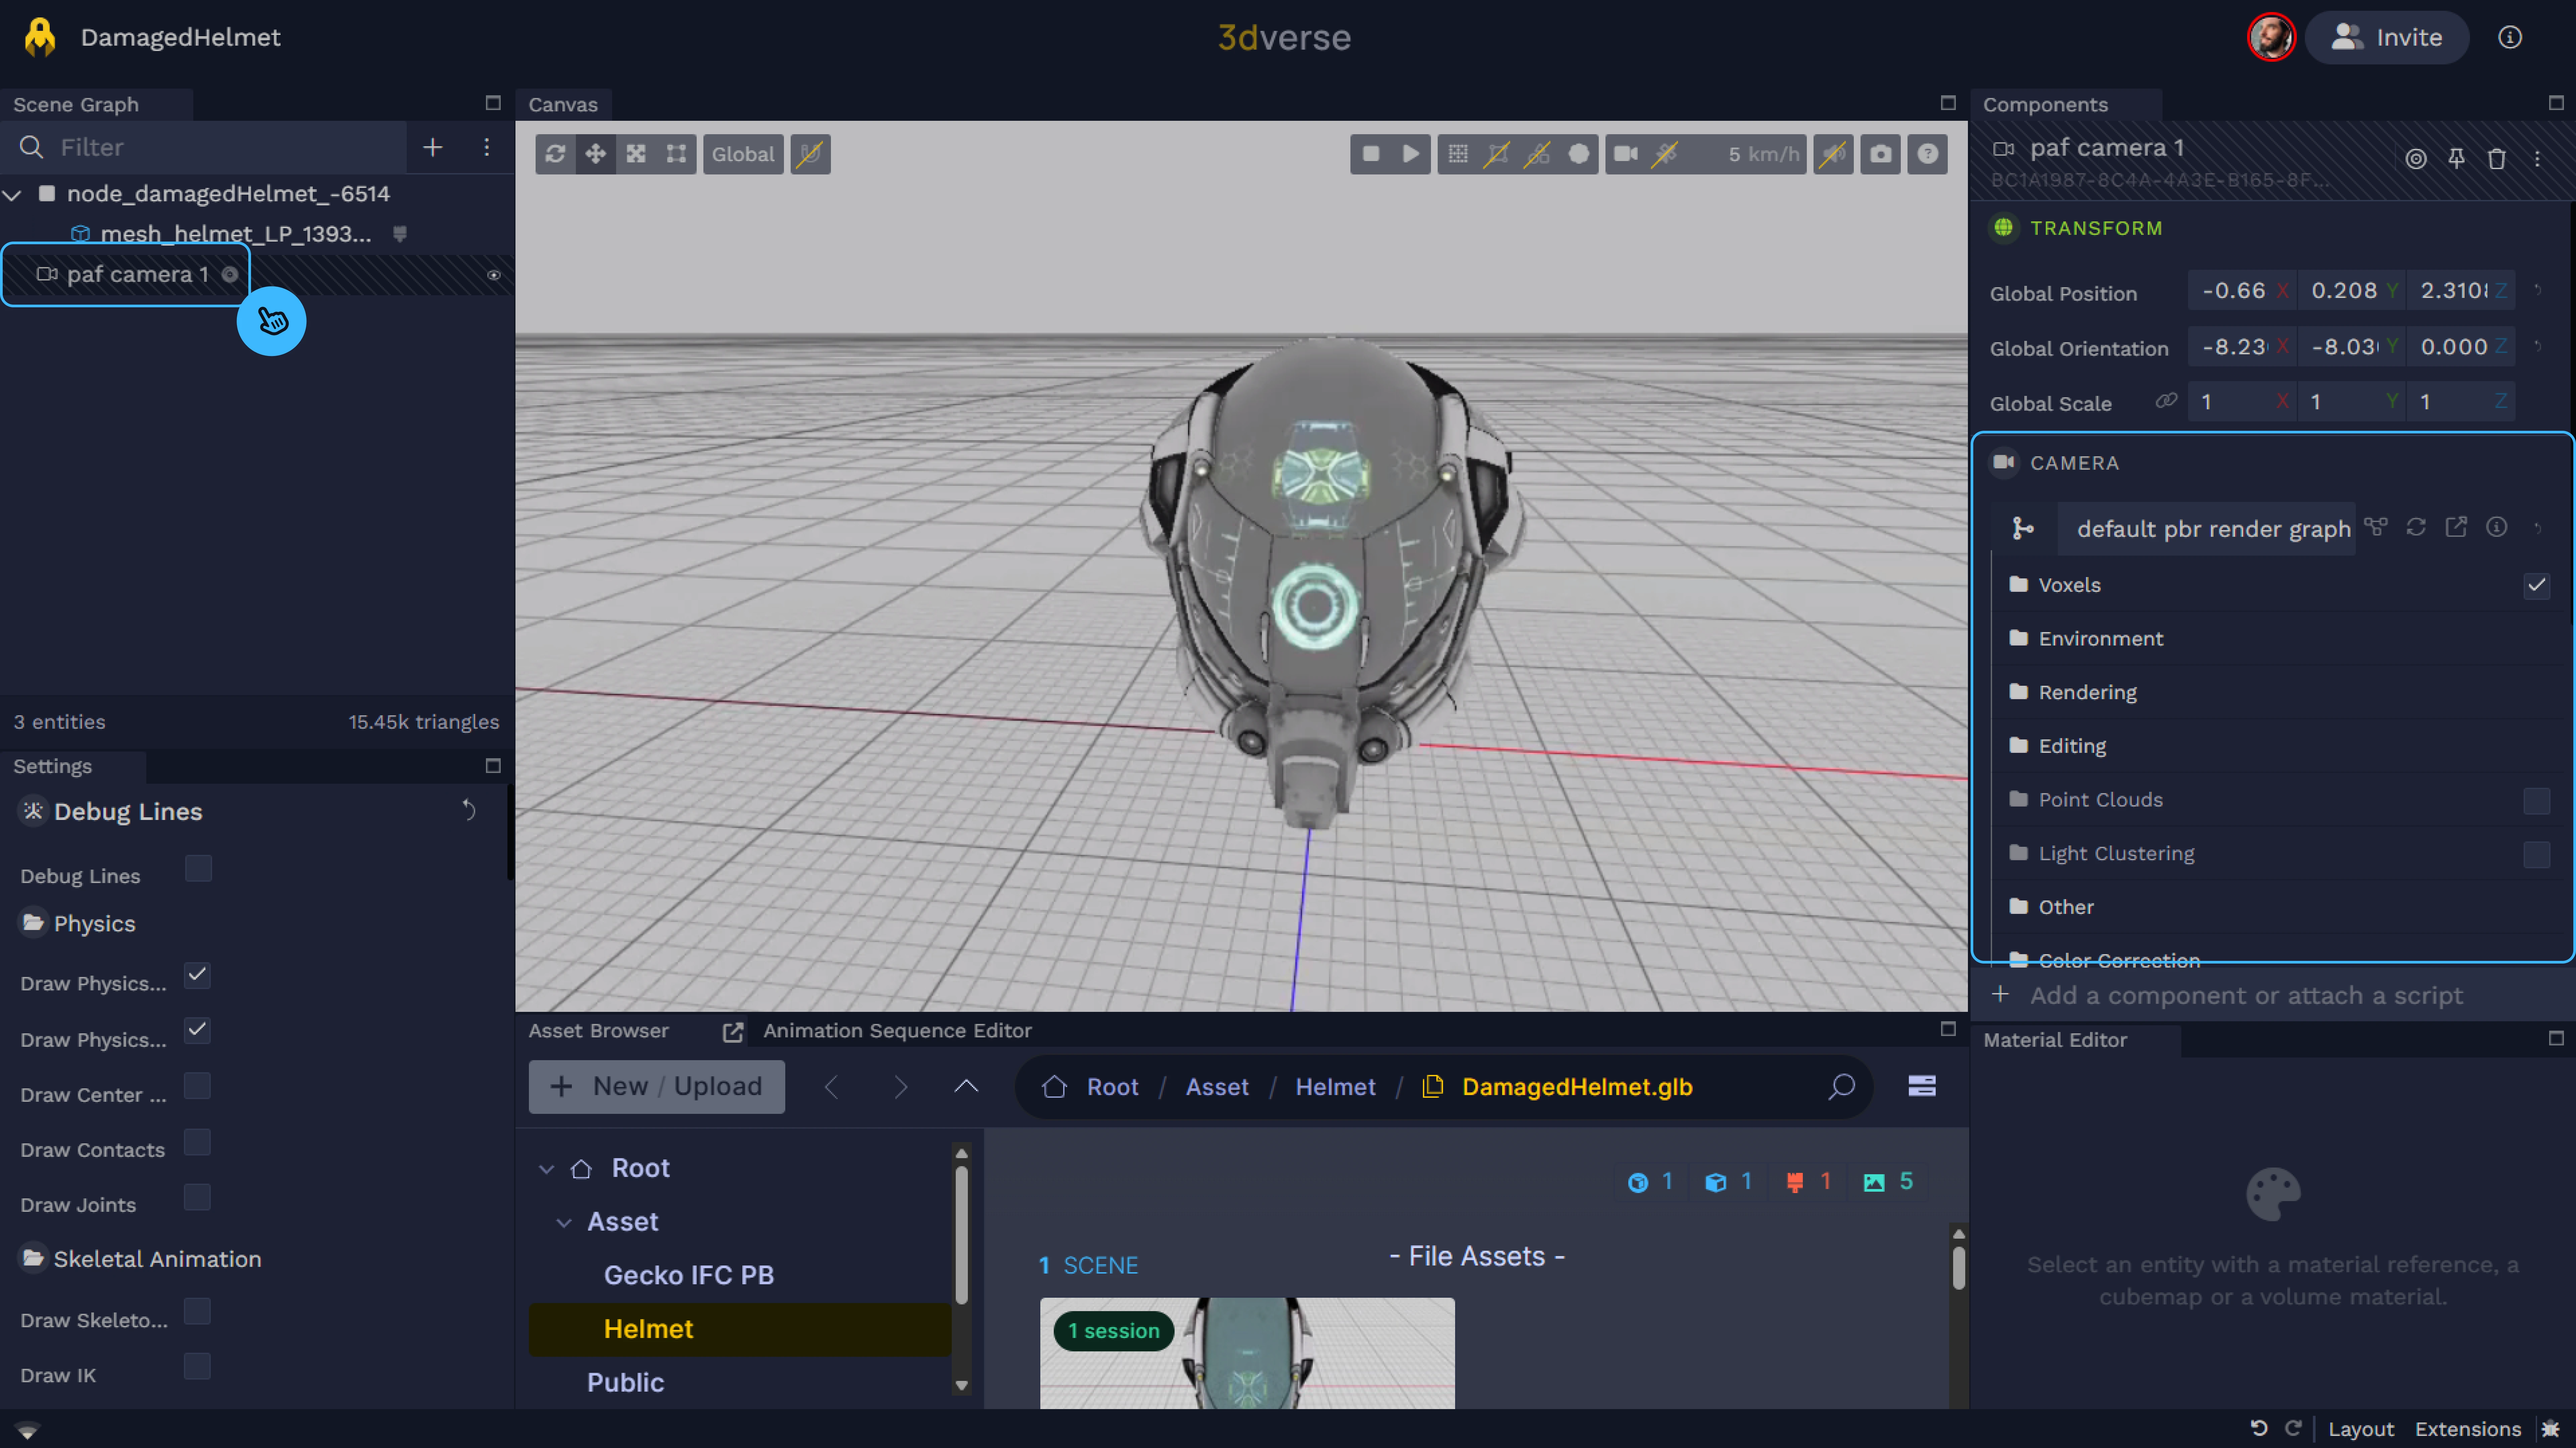
In the general settings of your 3dverse scene, it includes a default camera setting. When a user joins the scene, a camera entity is automatically created for them using these defaults camera settings. You can then adjust your user camera’s settings to control your view and environment.
You can access your camera settings:
- By clicking the
camera icon
in the canvas toolbar
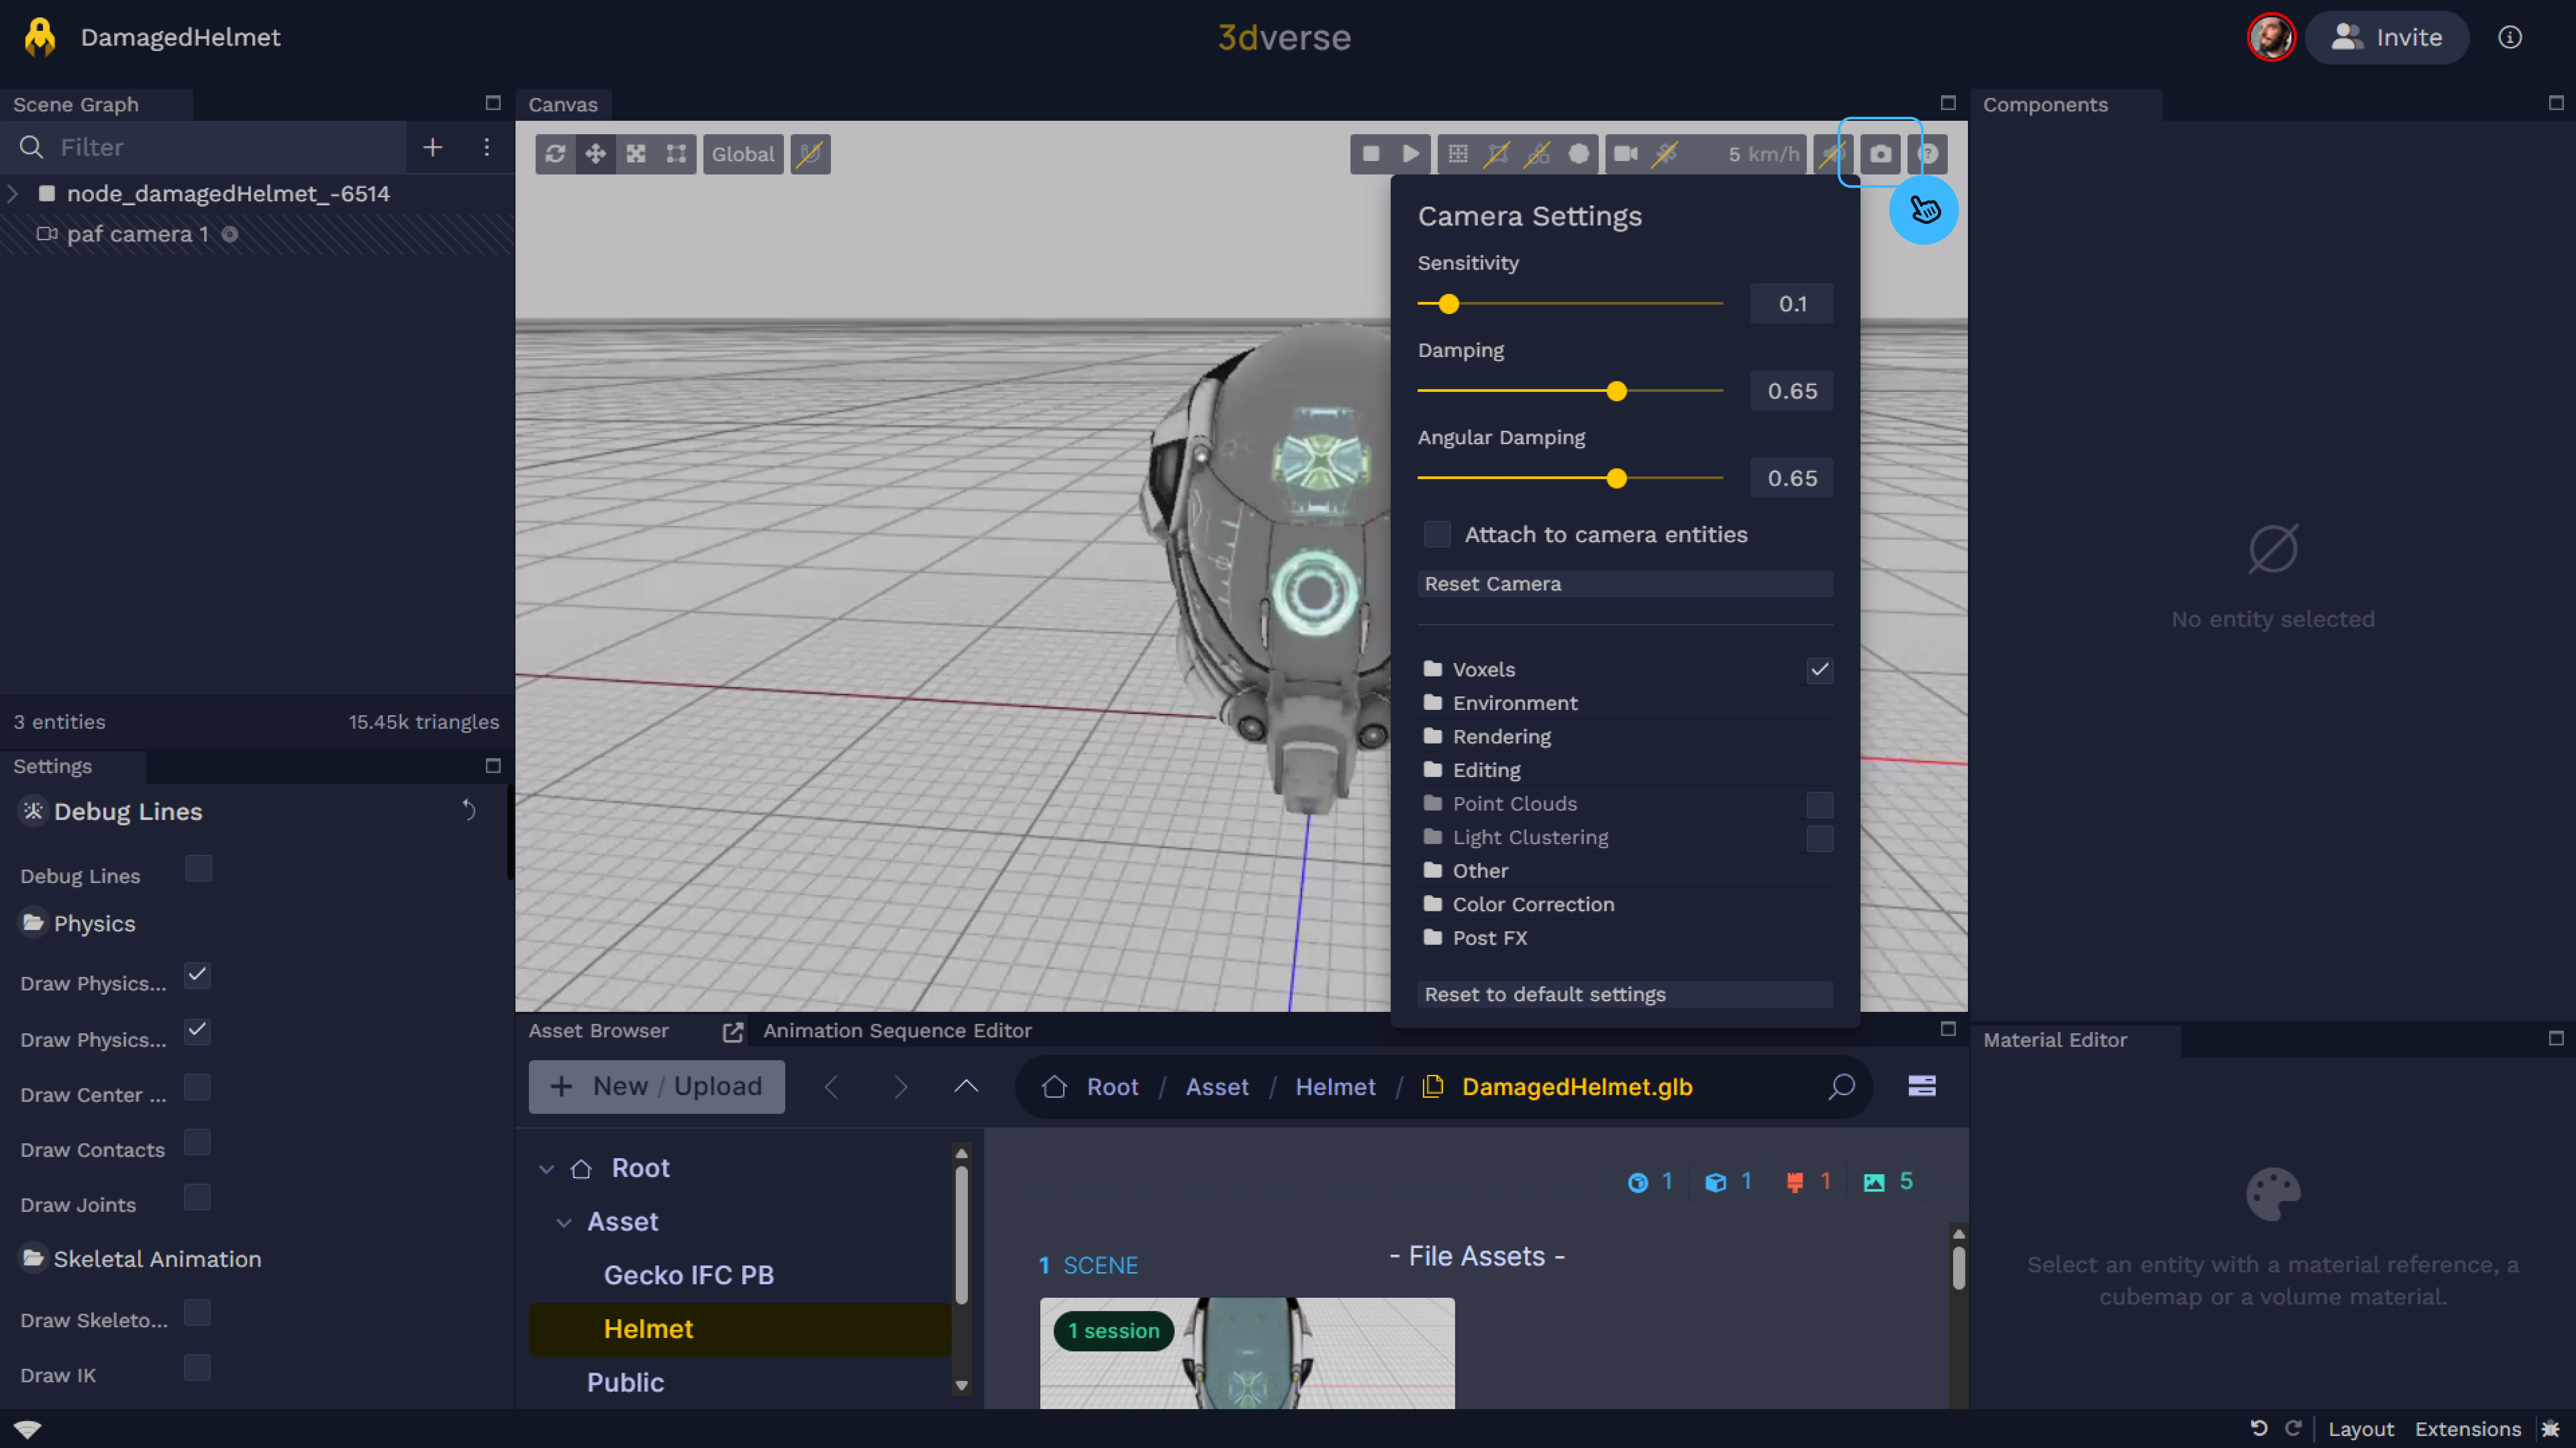
- Or by selecting your camera entity directly into the scene graph to view and edit the camera component's properties in the Components panel.
Environment
The environment defines the world around your objects, it’s both your background and your ambient lighting source. Even if you don’t add explicit lights, an environment provides enough illumination for your objects to be visible. There are three main types of environments:
- Gradient - a smooth color background (simple and light)
- Skybox (Cubemap) - a 360° image surrounding your scene (realistic background)
- Atmosphere - Atmosphere – a physically-based sky simulation that reacts to the sun
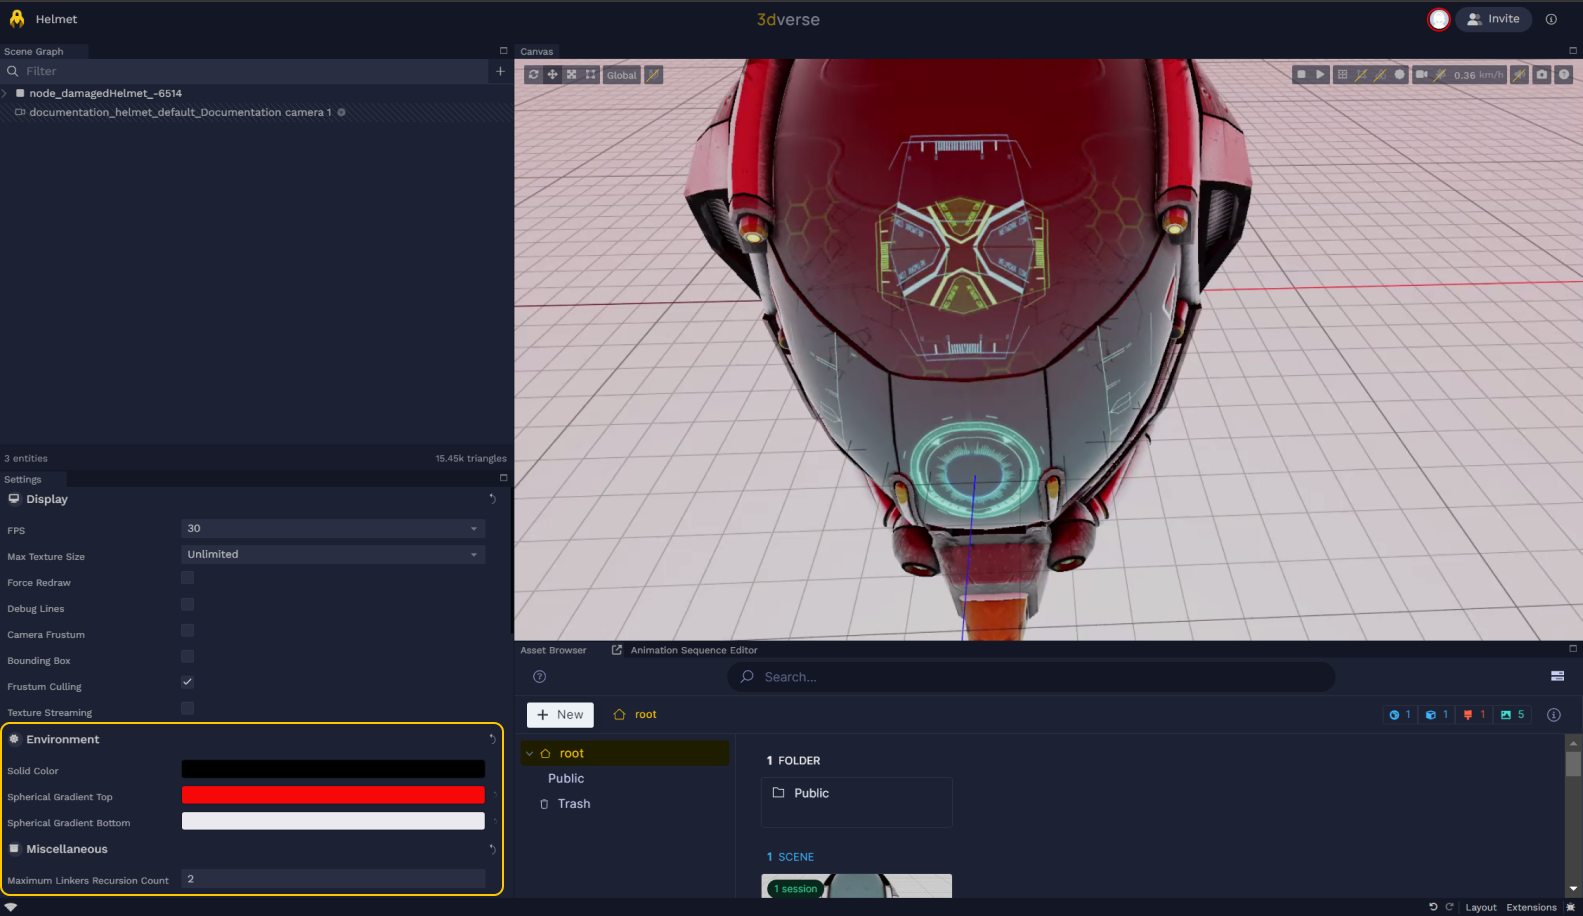
- Gradient
The color gradient background is the simplest environment setting. To set the gradient colors, you can modify the Spherical Gradient Top and the Spherical Gradient Bottom in Scene Settings
→ Environment
.
- Skybox (Cubemap)
A cubemap is an asset which assembles 6 textures that you can imagine as the faces of a cube. These three cubemaps will work together to emulate an environment. The skybox cubemap contains the color information, and the radiance and irradiance contain light direction and brightness information, which will help light up what’s inside our skybox. In 3dverse, we use the component 'Environment' to use cubemaps.
If you want to use your own skybox, you need to first upload a hdr file. A hdr file will convert to three cubemaps which correspond to skybox, radiance and irradiance cubemaps.
For the example, you will use a pre-defined 3dverse skybox.
First, You can add a skybox to your scene by clicking then
Environment
Then, activate the skybox to your camera:
- Atmosphere
The atmosphere feature aims to simulate the scattering of light in the atmosphere to produce realistic sky and horizon colors. It is particularly useful for creating a dynamic and physically-based sky background. The sun entity interacts with the atmosphere so you can simulate night, sun rise and sun set by changing the orientation of the sun.
To have an atmosphere environment, enable Atmosphere
in your camera settings and make sure you have a sun in your scene (check the Sun section below).
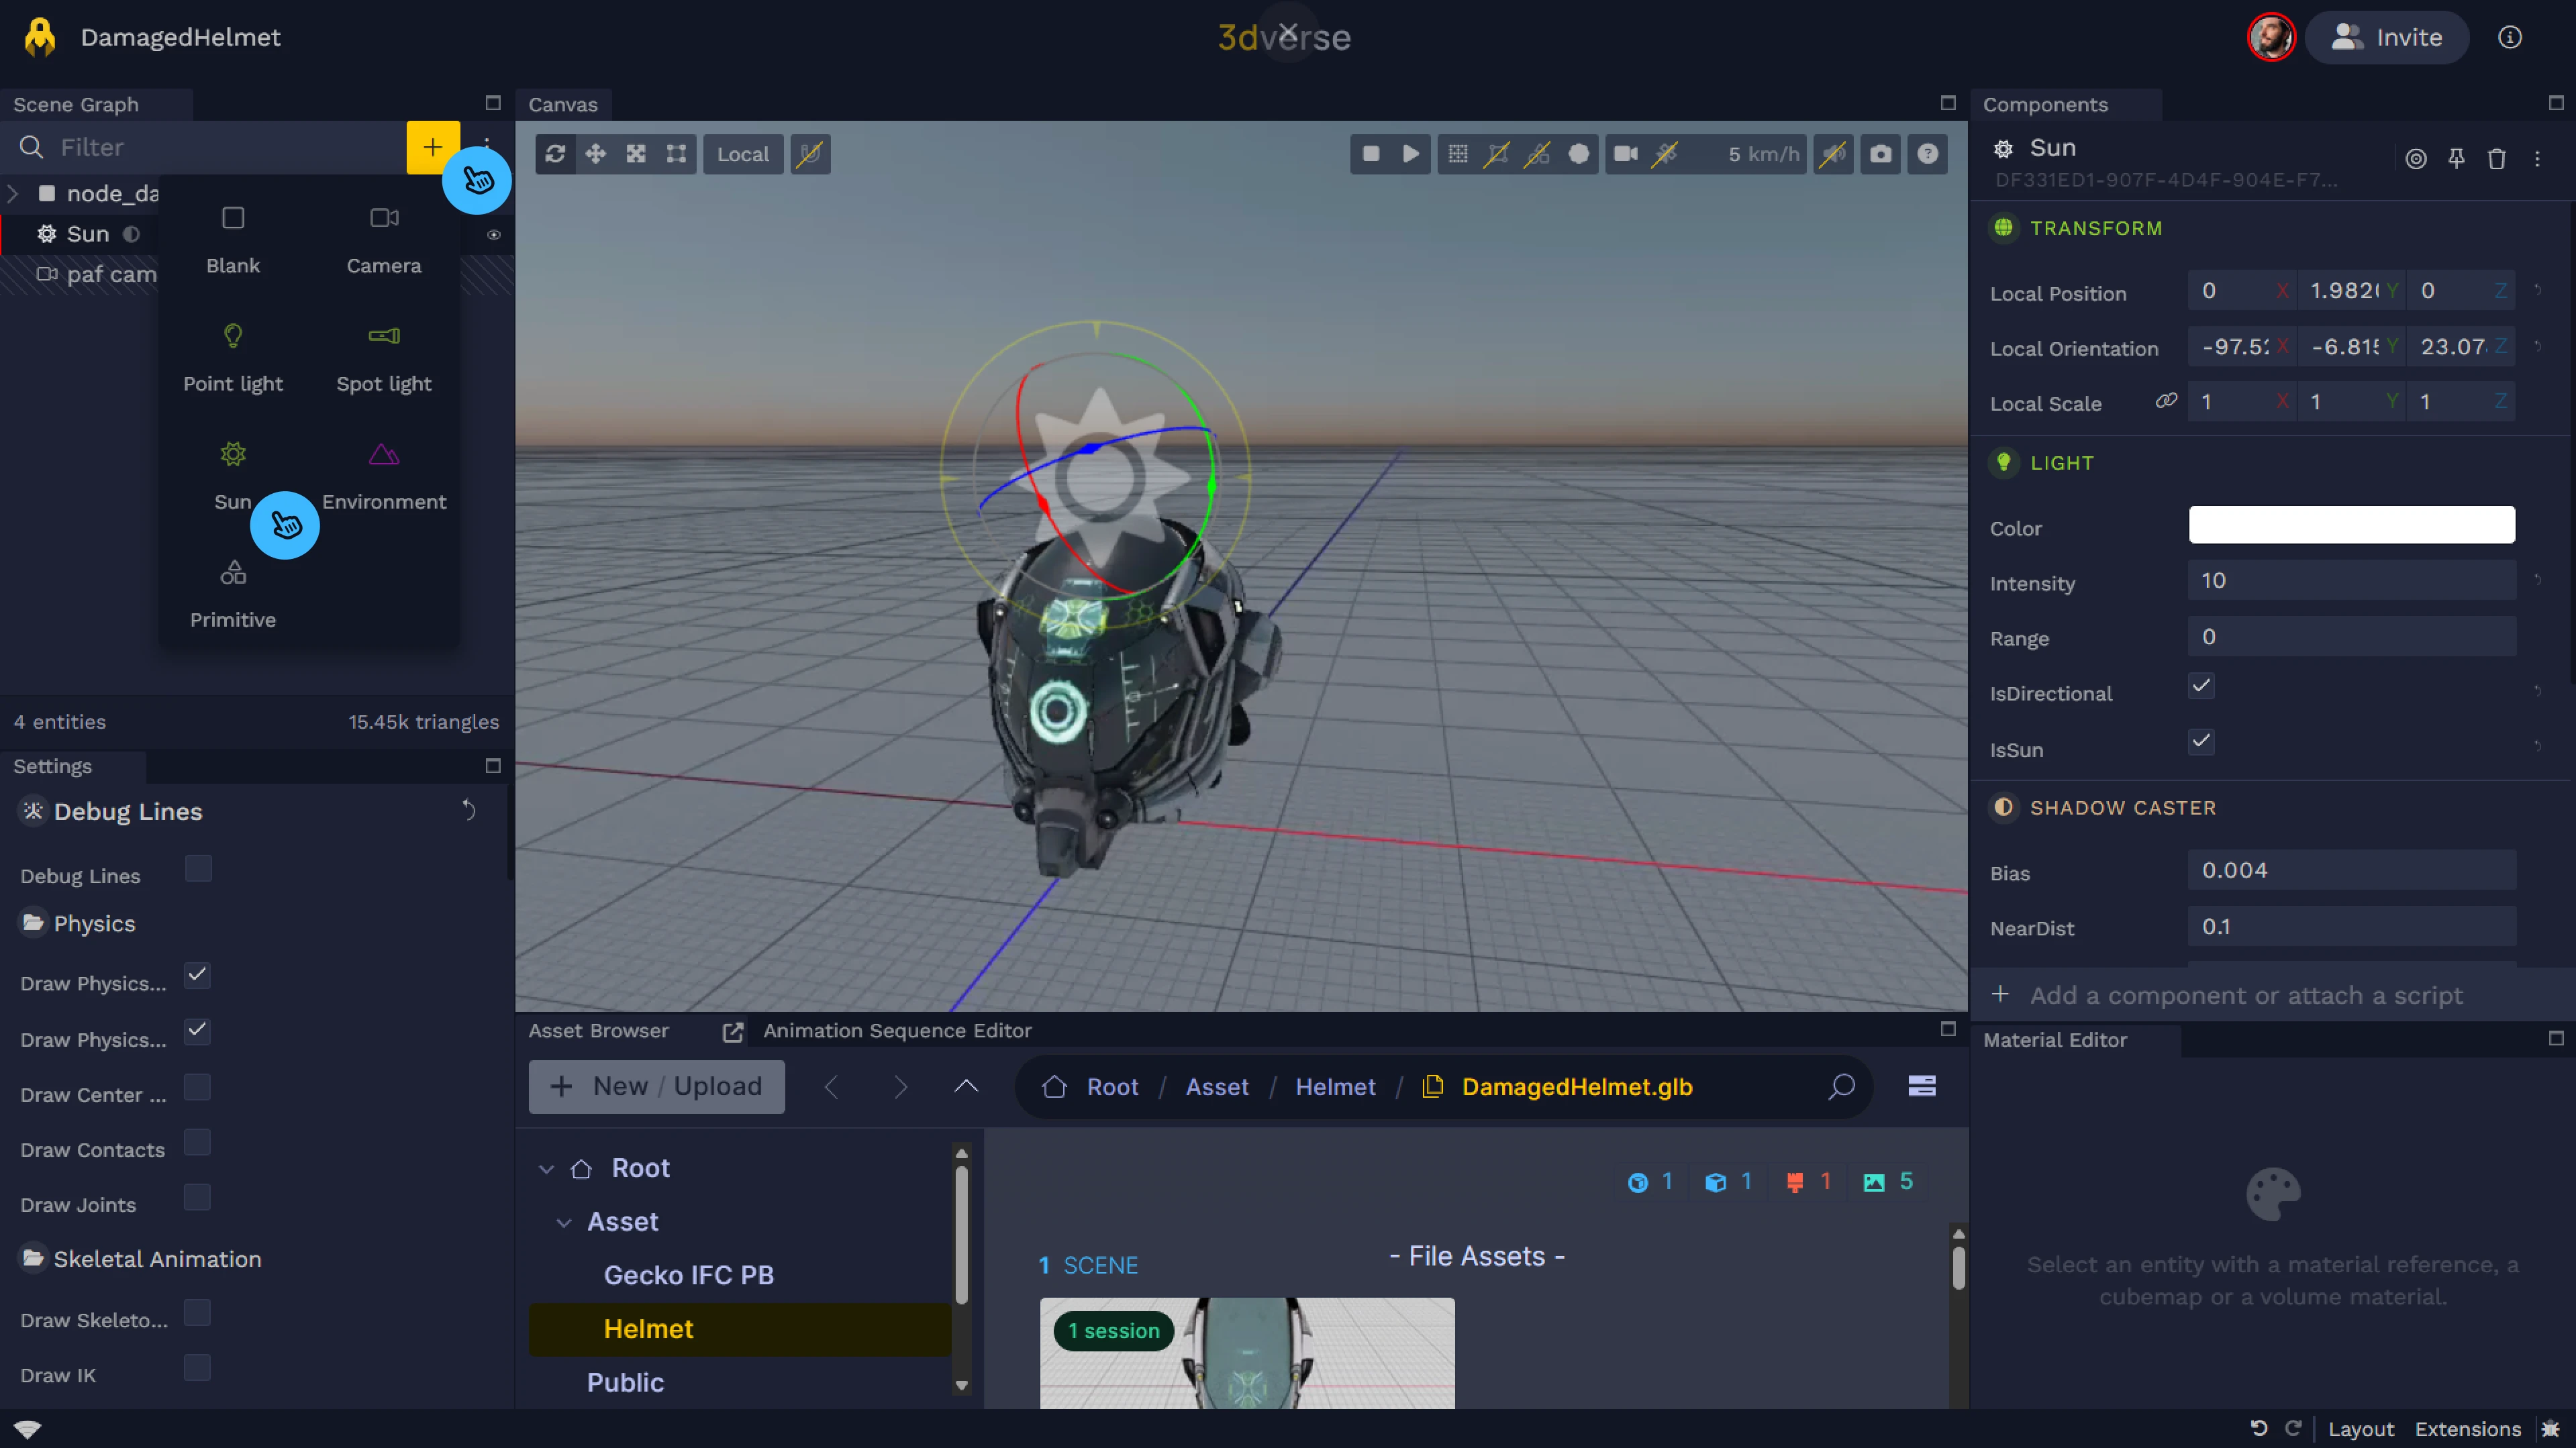
Sun
A sun is a directional light that can make your scene look more natural and lifelike, especially if you want to simulate daylight. If you want to give your scene a sunlit feel without diving deep into complex settings, it's a quick way to enhance the overall look.
You can add a sun to your scene by clicking then
Sun
. A sun has a light component with isSun enabled. You can change the sun color and intensity. Play with its orientation and see how that changes the lighting and shadows of your scene.