Quickstart
This guide walks you through the steps of setting up a React application that integrates the Livelink SDK to launch interactive rendering sessions.
Creating a project on the console
Before setting up your client application, you'll need to create a project:
- Log in or sign up at the 3dverse Console.
- Create a New project.
- In the Asset Browser, upload or create a Scene asset under the Public folder.
If it's your first project, you'll be guided through the process.
Setting up the Client Application
We provide a utility that simplifies the setup of client applications to a single command.
Run the following command in your terminal:
npm create 3dverse-app@latest my-app
You may be prompted to confirm the installation of create-3dverse-app, this is normal. Accept to proceed forward.
At the end, this command will create a folder named my-app in your current working directory and set up your client application inside it.
To follow this client application creation procedure, you only need Node.js installed on your system.
Verify your installation by running node --version.
Node Versions 18 or above are currently supported.
Then, follow the prompts:
1. Scene UUID
You will then be prompted for a scene UUID. You can find it in the Asset Browser.
Copy and paste the scene UUID into the prompt and press Enter to proceed.
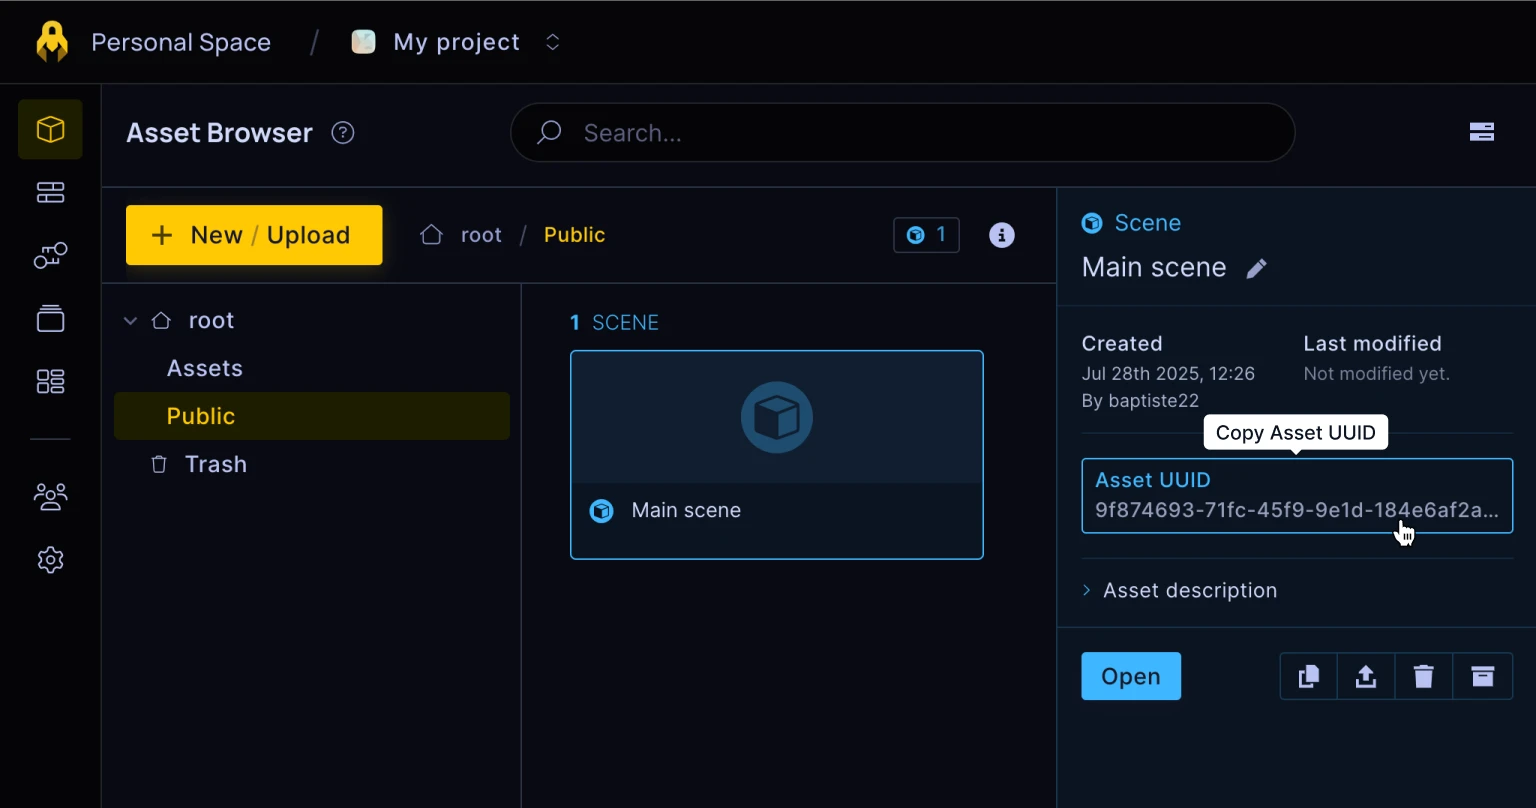
If your project doesn’t yet contain a scene asset, you can create one using the + New / Upload button.
Make sure you select a scene from the Public folder.
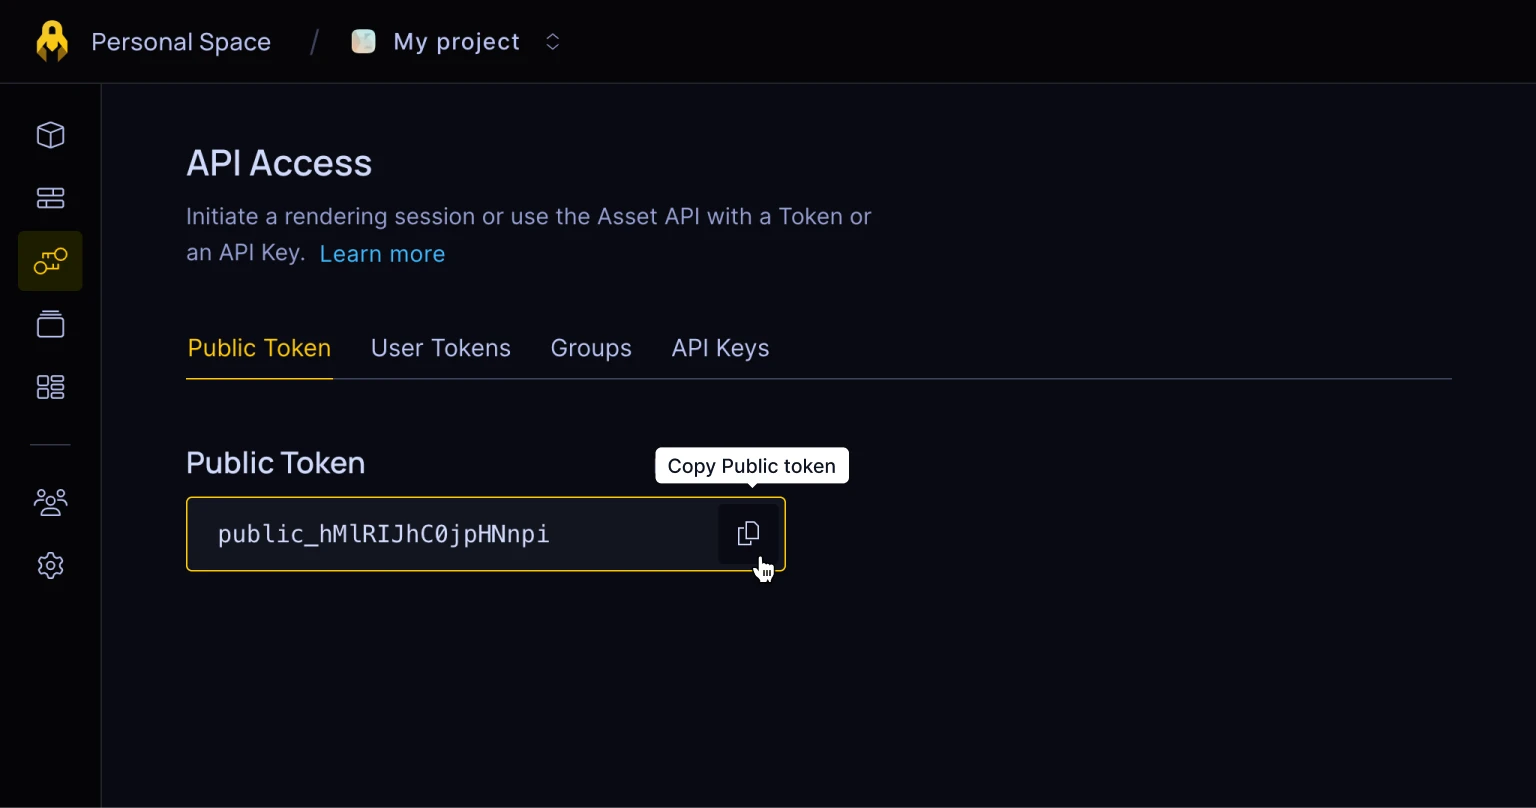
2. Public Token
Next, You'll be asked for a public token. The public token grants access to the Public folder for your client application.
Copy and paste the public token into the prompt and press Enter to proceed.
3. Optional Packages
Additional packages are offered for your convenience. These may or may not be useful depending on the type of application and features you are looking to develop.
| Package | Description |
|---|---|
| @3dverse/livelink-three | Enables Three.js integration to work in conjunction with Livelink |
| @3dverse/livelink-webxr | Enables VR and AR capabilities via WebXR |
Make your selection and press Enter to proceed.
You can always add these packages later via npm, e.g.:
npm install @3dverse/livelink-three
Running the Application
After completing these steps, your project should be fully set up and ready to go.
To start the development server, run:
cd my-app         # moves inside the application folder
npm run dev       # runs the application in development mode
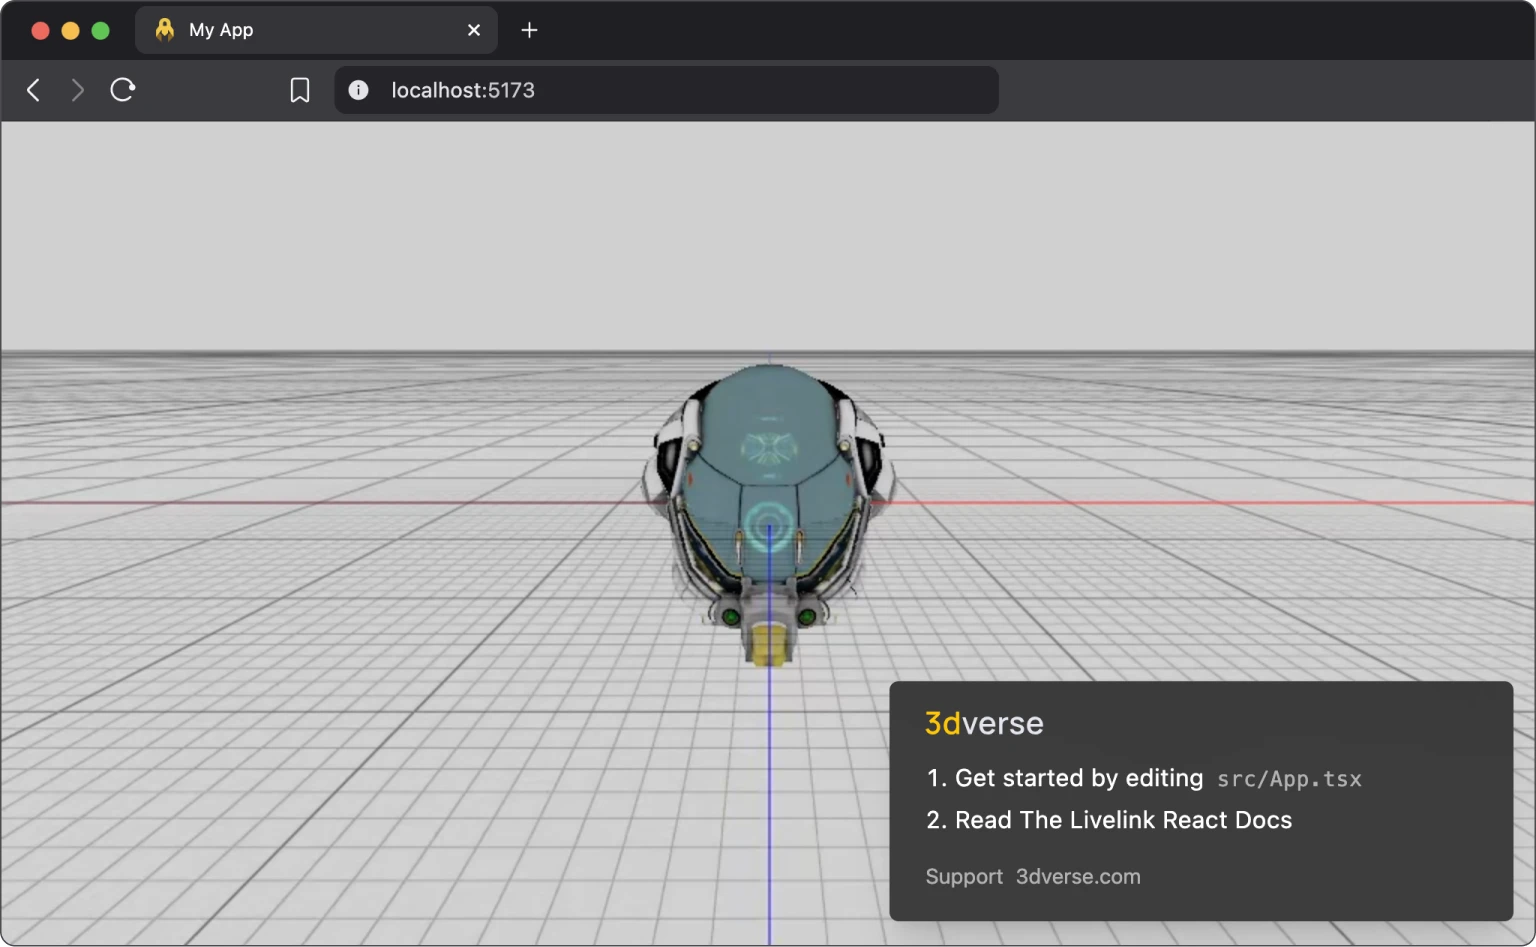
Your application will be running at http://localhost:5173 where you can expect to see an interactive render of your 3D scene.