Scene Composition
One of the powerful features of 3dverse is scene composition. Scenes can be composed of other scenes. This is a time saver - you can reuse the same scene multiple times so as to effectively “copy and paste” 3d worlds. But what’s most interesting about this feature is that it’s realized through the concept of scene reference. As you work upon your scene, its changes are synchronized across all scenes that reference it.
Linker
:::🏞️
Like other assets, scenes can also be referenced. This is done with the scene reference component. An entity with a scene reference component is a special kind of entity called a linker.
:::

To create a linker:
- assign a scene to the scene reference component directly, OR
- drag and drop a scene from your asset browser to the scene graph (this is a shortcut to create an entity with scene reference component set to that scene)
:::🏞️
In the scene graph, a linker entity will have as children all the entities of the scene it references.
:::
As an example, say I have a scene called “Main Scene” with one entity called “Primitive”. Then I create another scene called “Linker Demo” and create a linker that references “Main Scene”. This will be the scene graphs of both scenes:
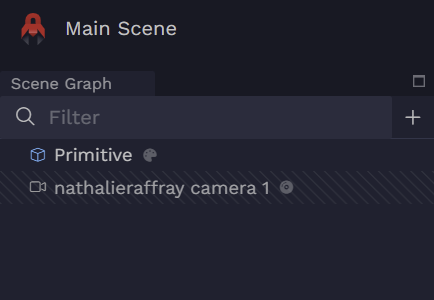
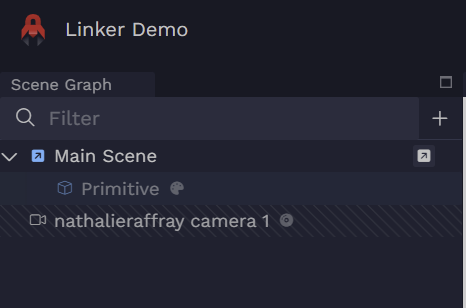
Notice that the linker’s child entity “Primitive” is greyed out. For now it is read only, you cannot modify it. You will be able to modify by overriding components, which we cover below.
To quickly open Main Scene from Linker Demo, click on “Open in a new tab”:

Scene as reference
Like other asset references, if you change anything in your original scene, like create an entity around or change a material albedo, you will see those changes updated in all other scenes that reference that scene.
:::🏞️
The scene reference ensures synchronization with changes happening in the original scene.
:::
Overriding
🚨Careful. This feature is currently experimental, so you may encounter some odd bugs. It will be stable in the near future.
:::🏞️
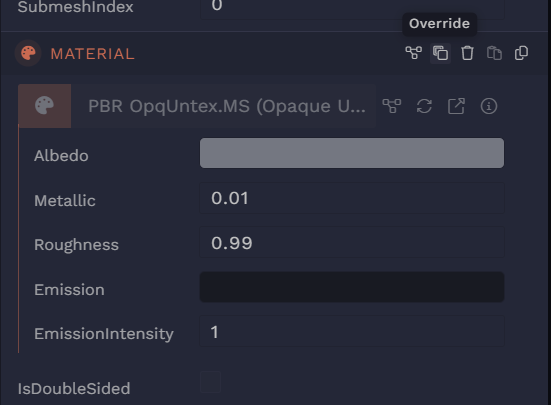
If we want to modify the entities underneath our linker we must override them.
:::
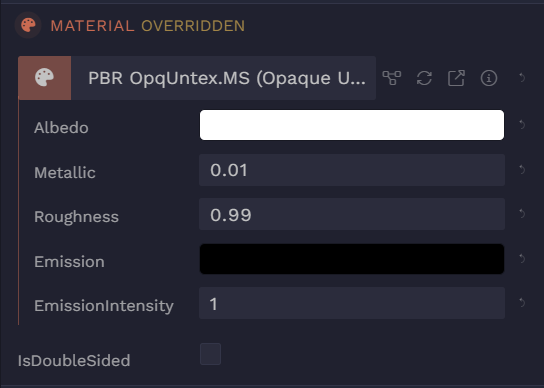
When you override an entity, you will be able to modify that entity. The changes you then enact on your overridden entity are all local to your scene. They will not affect the original scene you are referencing.
These are actions you can take:
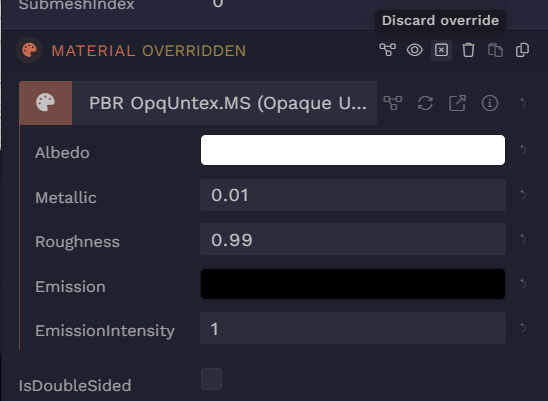
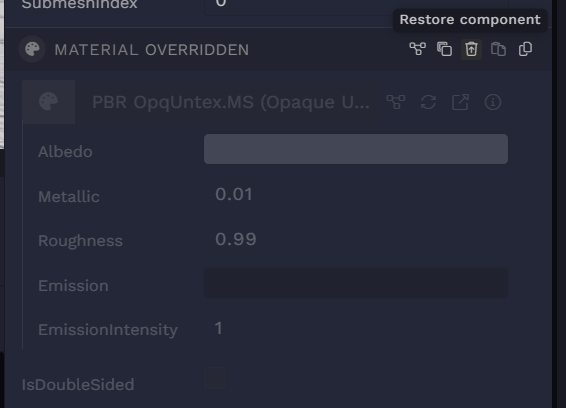
Override an existing component
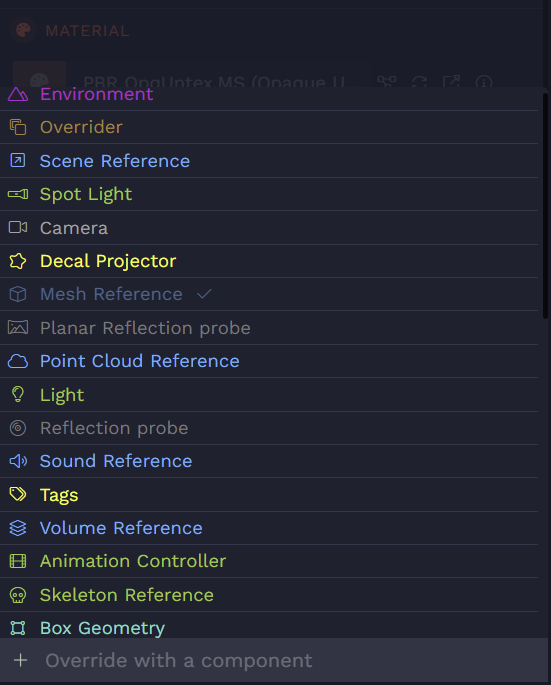
Override with a new component
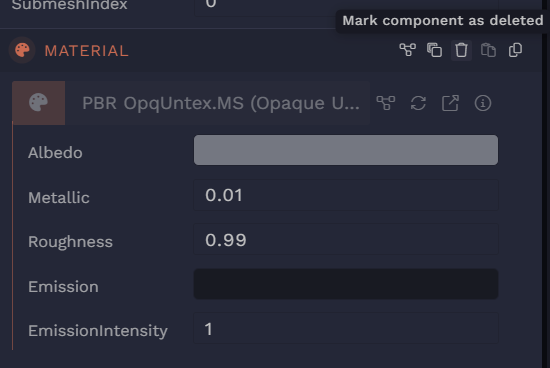
Override by deleting existing component
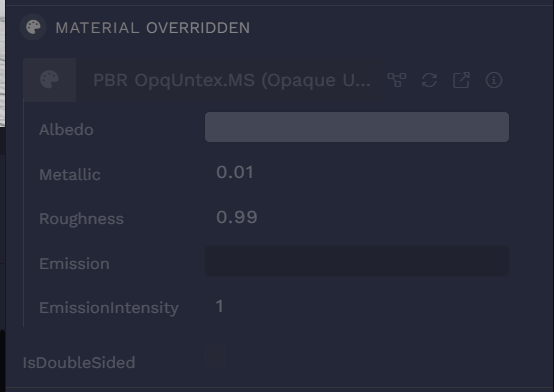
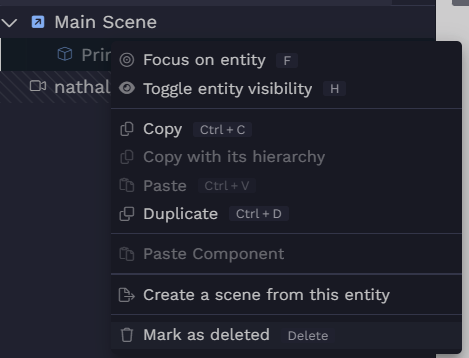
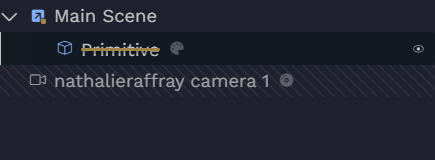
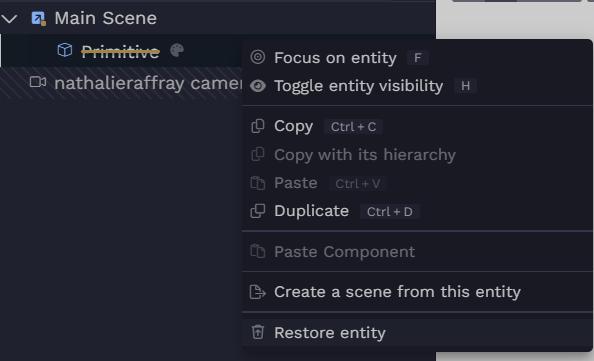
Override by deleting entity
Tips for organizing your scenes
Here are some ways you can use scene composition to work and collaborate efficiently.
- Collaborate efficiently Divide your main scene into different regions. For each of these regions create a scene and assign the construction of that smaller scene to one of your collaborators. In the example of a game, you could have one scene per level. Within a level itself you could have one scene for different regions of that level (a region like a forest, river or medieval market). This helps keep large 3d worlds organized and logically partitioned. Check “Collaboration” in image below.
- Work efficiently For 3d worlds that are specifically customized or are likely to be reused, it is useful to have them in their own scene so that you can reference them anywhere. In the example of a game it makes sense to have one scene for your player with its animation and collider set up. Then, you can easily ‘instantiate’ your player inside any other scene by using a scene reference. Check “Scene References” in image below.
- Work efficiently A scene can also be designed and used as a template. When you need to use that template in another scene, you can ‘instantiate’ your template scene and customize it by overriding components. In the example of a game, your template scene could be a NPC character. In your level scene you create many NPC linkers and override their animations or their materials, so that the NPCs have a same base but differ slightly. Check “Templates” in image below.