Client Application Quickstart
This guide walks you through the steps of using create-3dverse-app to set up a React application which integrates Livelink to launch interactive rendering sessions.
Creating a project on the Console
Before setting up your client application, you'll need to create a project:
- Log in or sign up at the 3dverse Console.
- Create a New project.
- In the Asset Browser, upload or create a Scene asset under the public folder.
If it's your first project, you'll be guided through the process.
Setting up the Client Application
We provide a utility that simplifies the setup of a client applications to a single command.
Run the following command in your terminal:
npm create 3dverse-app@latest my-app
This command will prompt you for various configuration options. At the end, a folder named my-app will be created in your current working directory where you'll find your client application.
You may be prompted to confirm the installation of create-3dverse-app, this is normal. Accept to proceed forward.
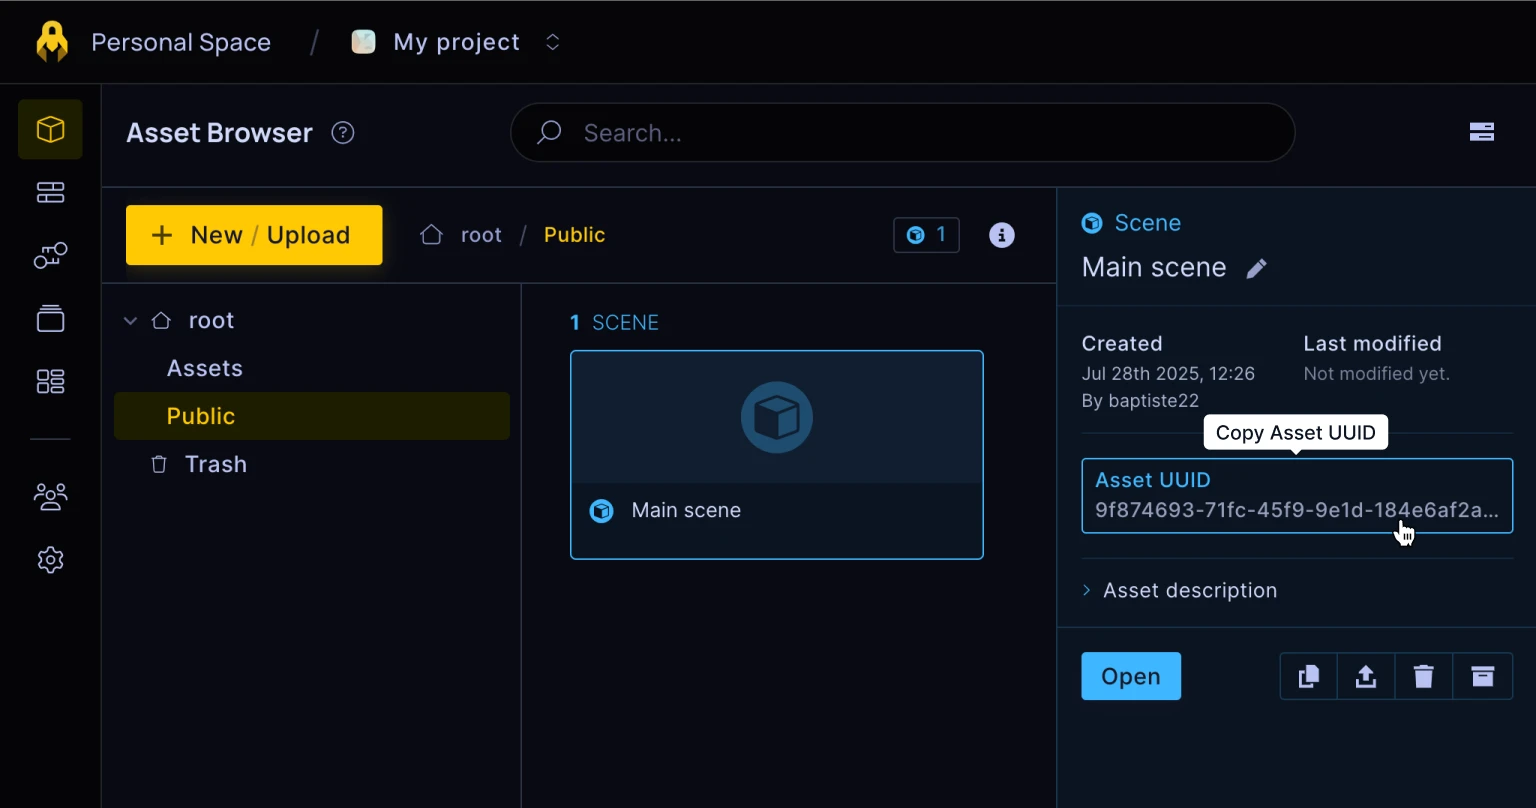
1. Scene UUID
You will then be prompted for a scene UUID. You can find it in the Asset Browser.
Open the Public folder, then copy and paste the scene UUID into the prompt and press Enter to proceed.
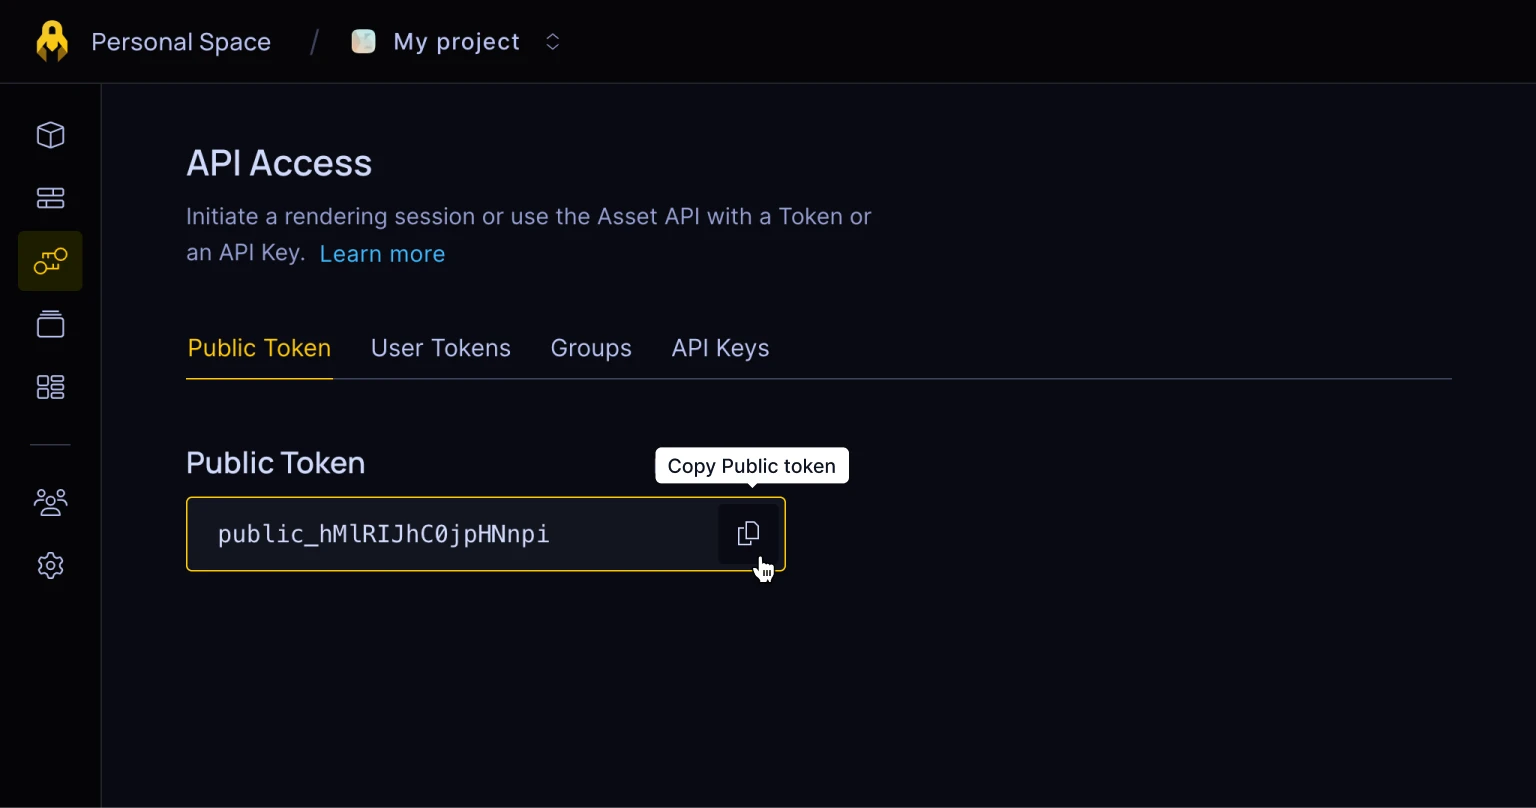
2. Public Token
Next, you'll be asked for a public token. The public token grants access to the Public folder for your client application.
Copy and paste the public token into the prompt and press Enter to proceed.
Running the Application
After completing these steps, your project should be fully set up and ready to go.
To start the development server, run:
cd my-app         # moves inside the application folder
npm run dev       # runs the application in development mode
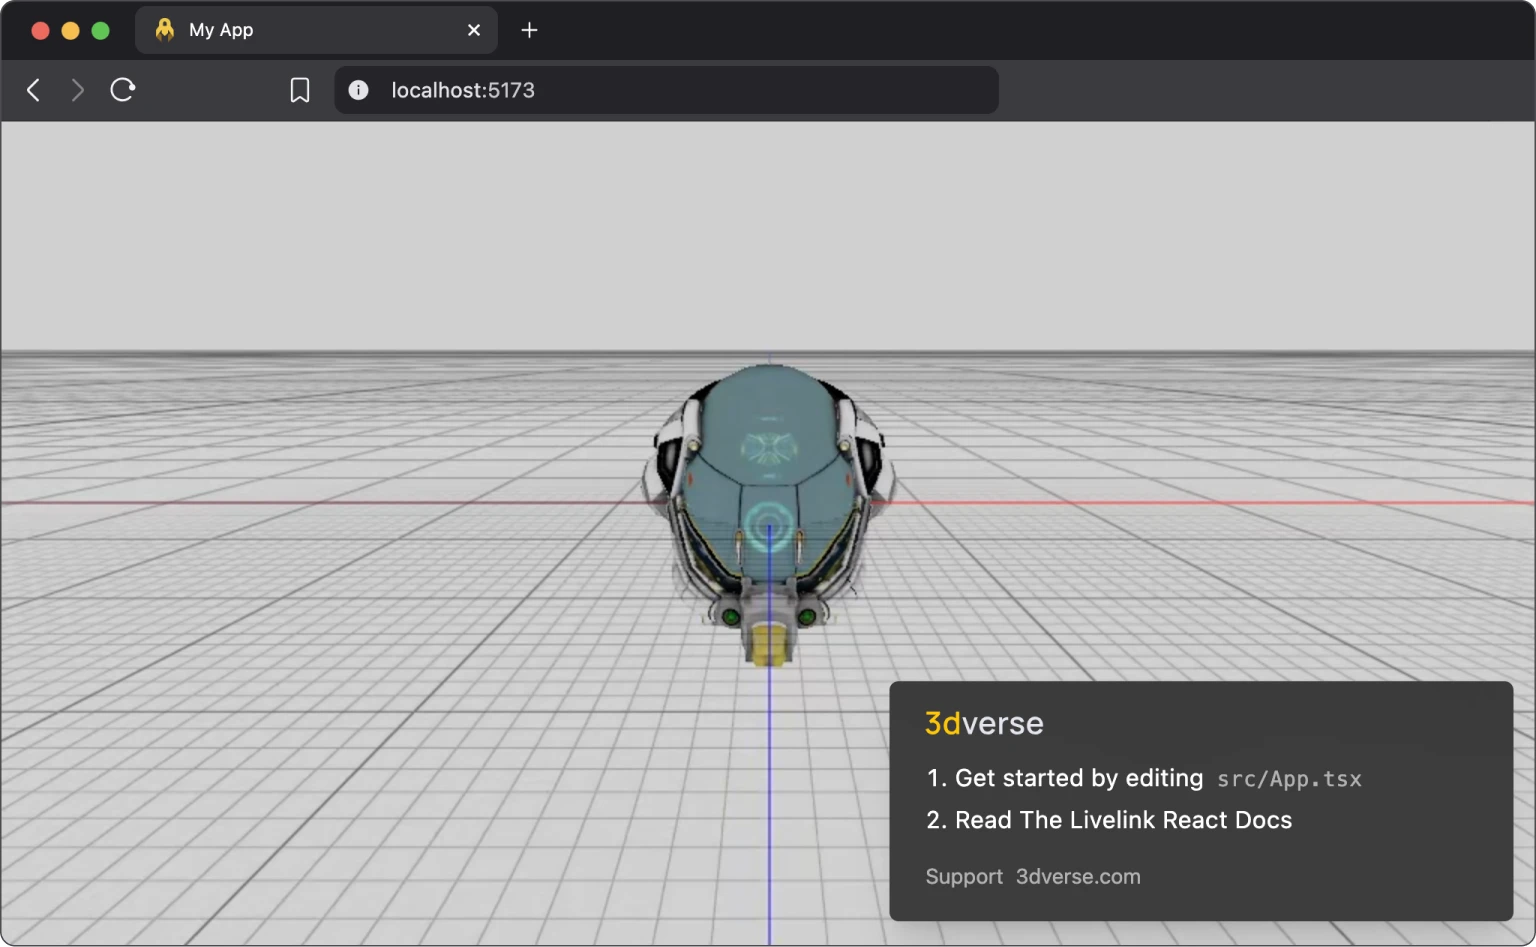
Your application will be running at http://localhost:5173 where you can expect to see an interactive render of your 3D scene.
Deploying to users
Should you choose to push the code to Github, we can show you how to make the newly created project publicly available to your users using Github Pages. Head over to the deploying guide for step-by-step instructions on how to set up automated deployments.